Introduction
The code quality is as essential as writing the code itself and every developer needs to follow coding conventions and guidelines to ensure clean, readable, and reusable code.
As programmers, one of the ways to ensure good code quality is by using automated code reviews that look out for bugs, mistakes, style issues, and security breaches in the codebase. Conducting automatic code reviews is important in creating secure and high-quality applications in a faster way by drastically reducing the time and effort needed to review code manually.
Codiga is one of the leading tools for code analysis and automated code reviews. With the support of 12+ languages, Codiga boosts your productivity by helping you write better code with less complexity.
In this article, I will be creating a simple API in Python and walking you through the step-by-step process of using Codiga for code reviews and analysis.
Building Apis
** Set up your environment ** On your desktop, create a new folder, I will call mine “flask-app”. Ensure python3 and pip is installed on your system, you can check the version by running the following commands.
$ python3 --version
$ pip3 --version
Then open, the folder in your IDE and create a new virtual environment by running the following command.
For Windows users:
$ python3  -m venv env
$ cd env
$ cd Scripts
$ activate
For macOS users:
$ python3 -m venv env
$ source env/bin/activate
** Installation and setting up flask application **
Install flask in your environment by running pip install flask.
In your root directory, create a new file named app.py and add the following codes.
from flask import Flask
app = Flask(__name__)

@app.route("/")
def index():
    return {"message": "Hello world!"}


app.run()
Run the application in the terminal with python app.py.
You should see an output similar to this:
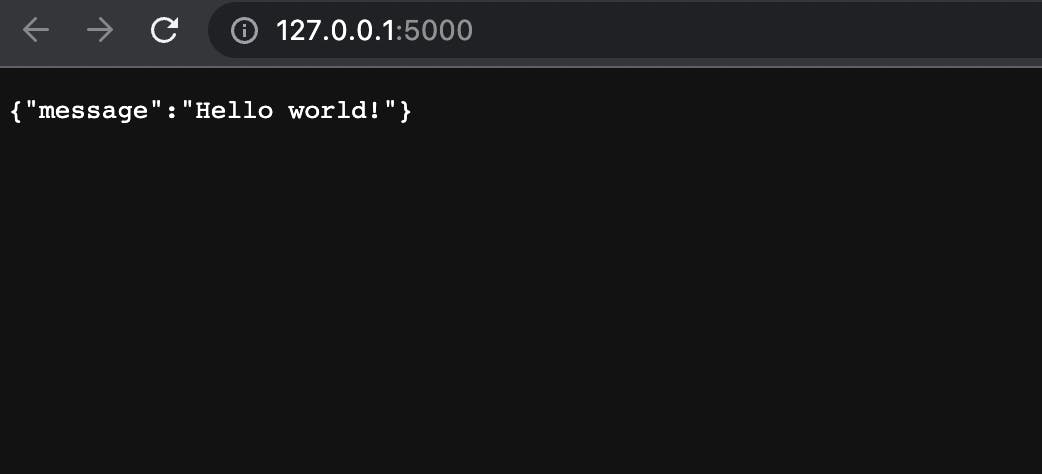
* Running on http://127.0.0.1:5000/ (Press CTRL+C to quit)
Navigate to the following link http://127.0.0.1:5000/ in your browser to see the running application.
** Creating APIs **
We have successfully run a flask application, let’s create simple APIs.
In your app.py file, update the codes with the following:
from flask import Flask, jsonify
app = Flask(__name__)

@app.route("/")
def index():
    return {"message": "Hello world!"}

# Created some test data to display.
products = [
    {"id": 0, "name": "Pen", "price": "1000"},
    {"id": 1, "name": "Biro", "price": "6000"},
    {"id": 2, "name": "Book", "price": "5000"},
    {"id": 3, "name": "Cup", "price": "1500"},
]

# A route to return all products.
@app.route("/api/v1/products", methods=["GET"])
def get_all_products():

    # use the jsonify function to convert a list of dictionaries to JSON format
    return jsonify(products)

# A route to get a specific product by the id
@app.route("/api/v1/products/<int:id>", methods=["GET"])
def get_a_product(id):
    result = []

    # looped through the list of products to get an ID that matches
    for product in products:
        if product["id"] == id:
            result.append(product)

    return jsonify(result)

app.run()
In the codes above, I created some data and two routes; one to display all the entries in the data and the other to get a specific entry using the id.
To test the routes, run your application using python app.py and navigate to the following link in your browser.


Our routes work fine.
Then create a new repository for the project and push it to Github.
Learn how to push to Github here.
Using Codiga for Code Analysis and Review
To get started with codiga, create an account and log in with Github at app.codiga.io/login
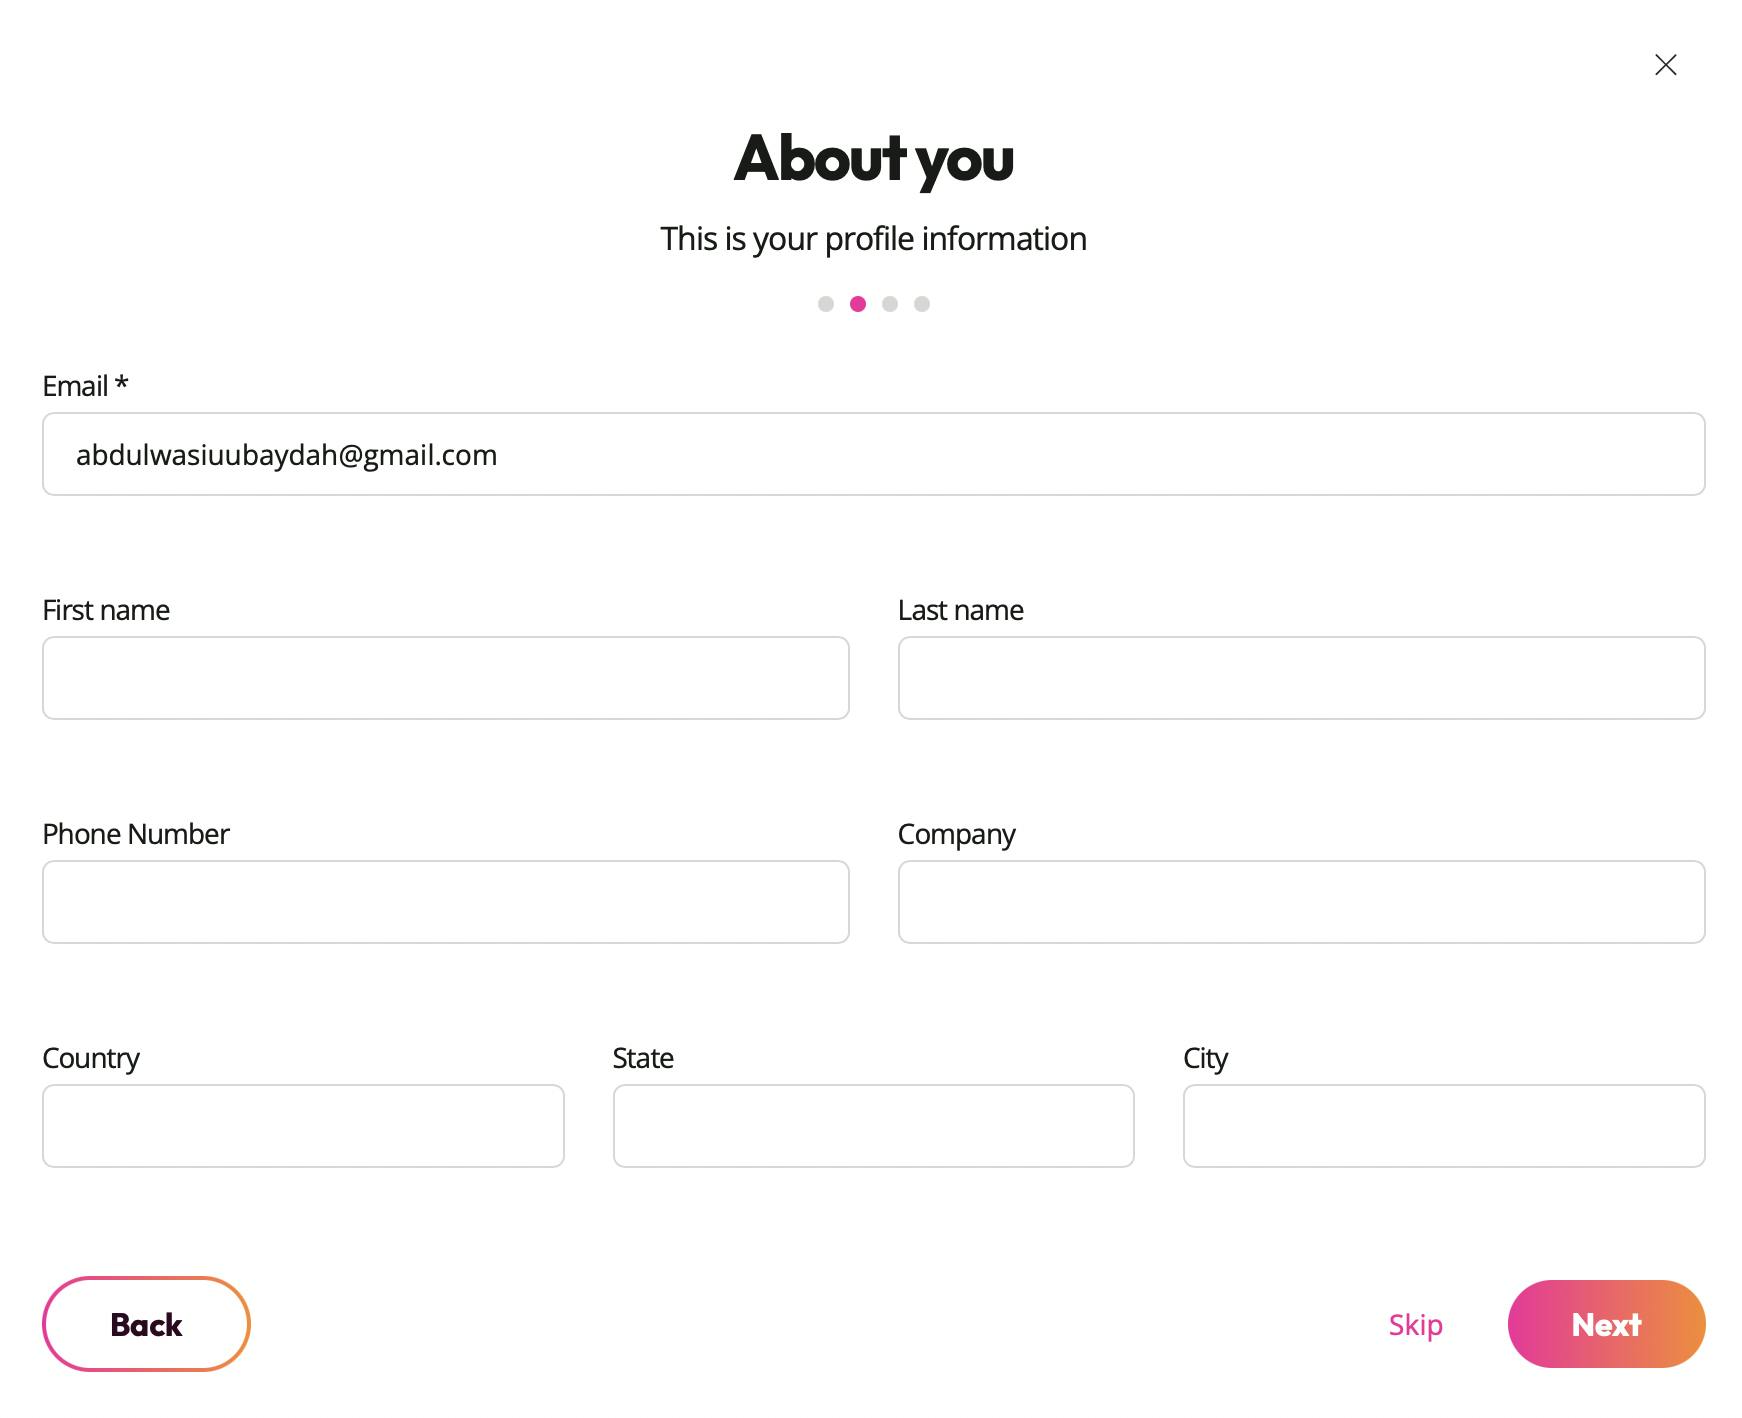
Set up your profile with the necessary information.
Navigate to Code Analysis in your dashboard to create a new project
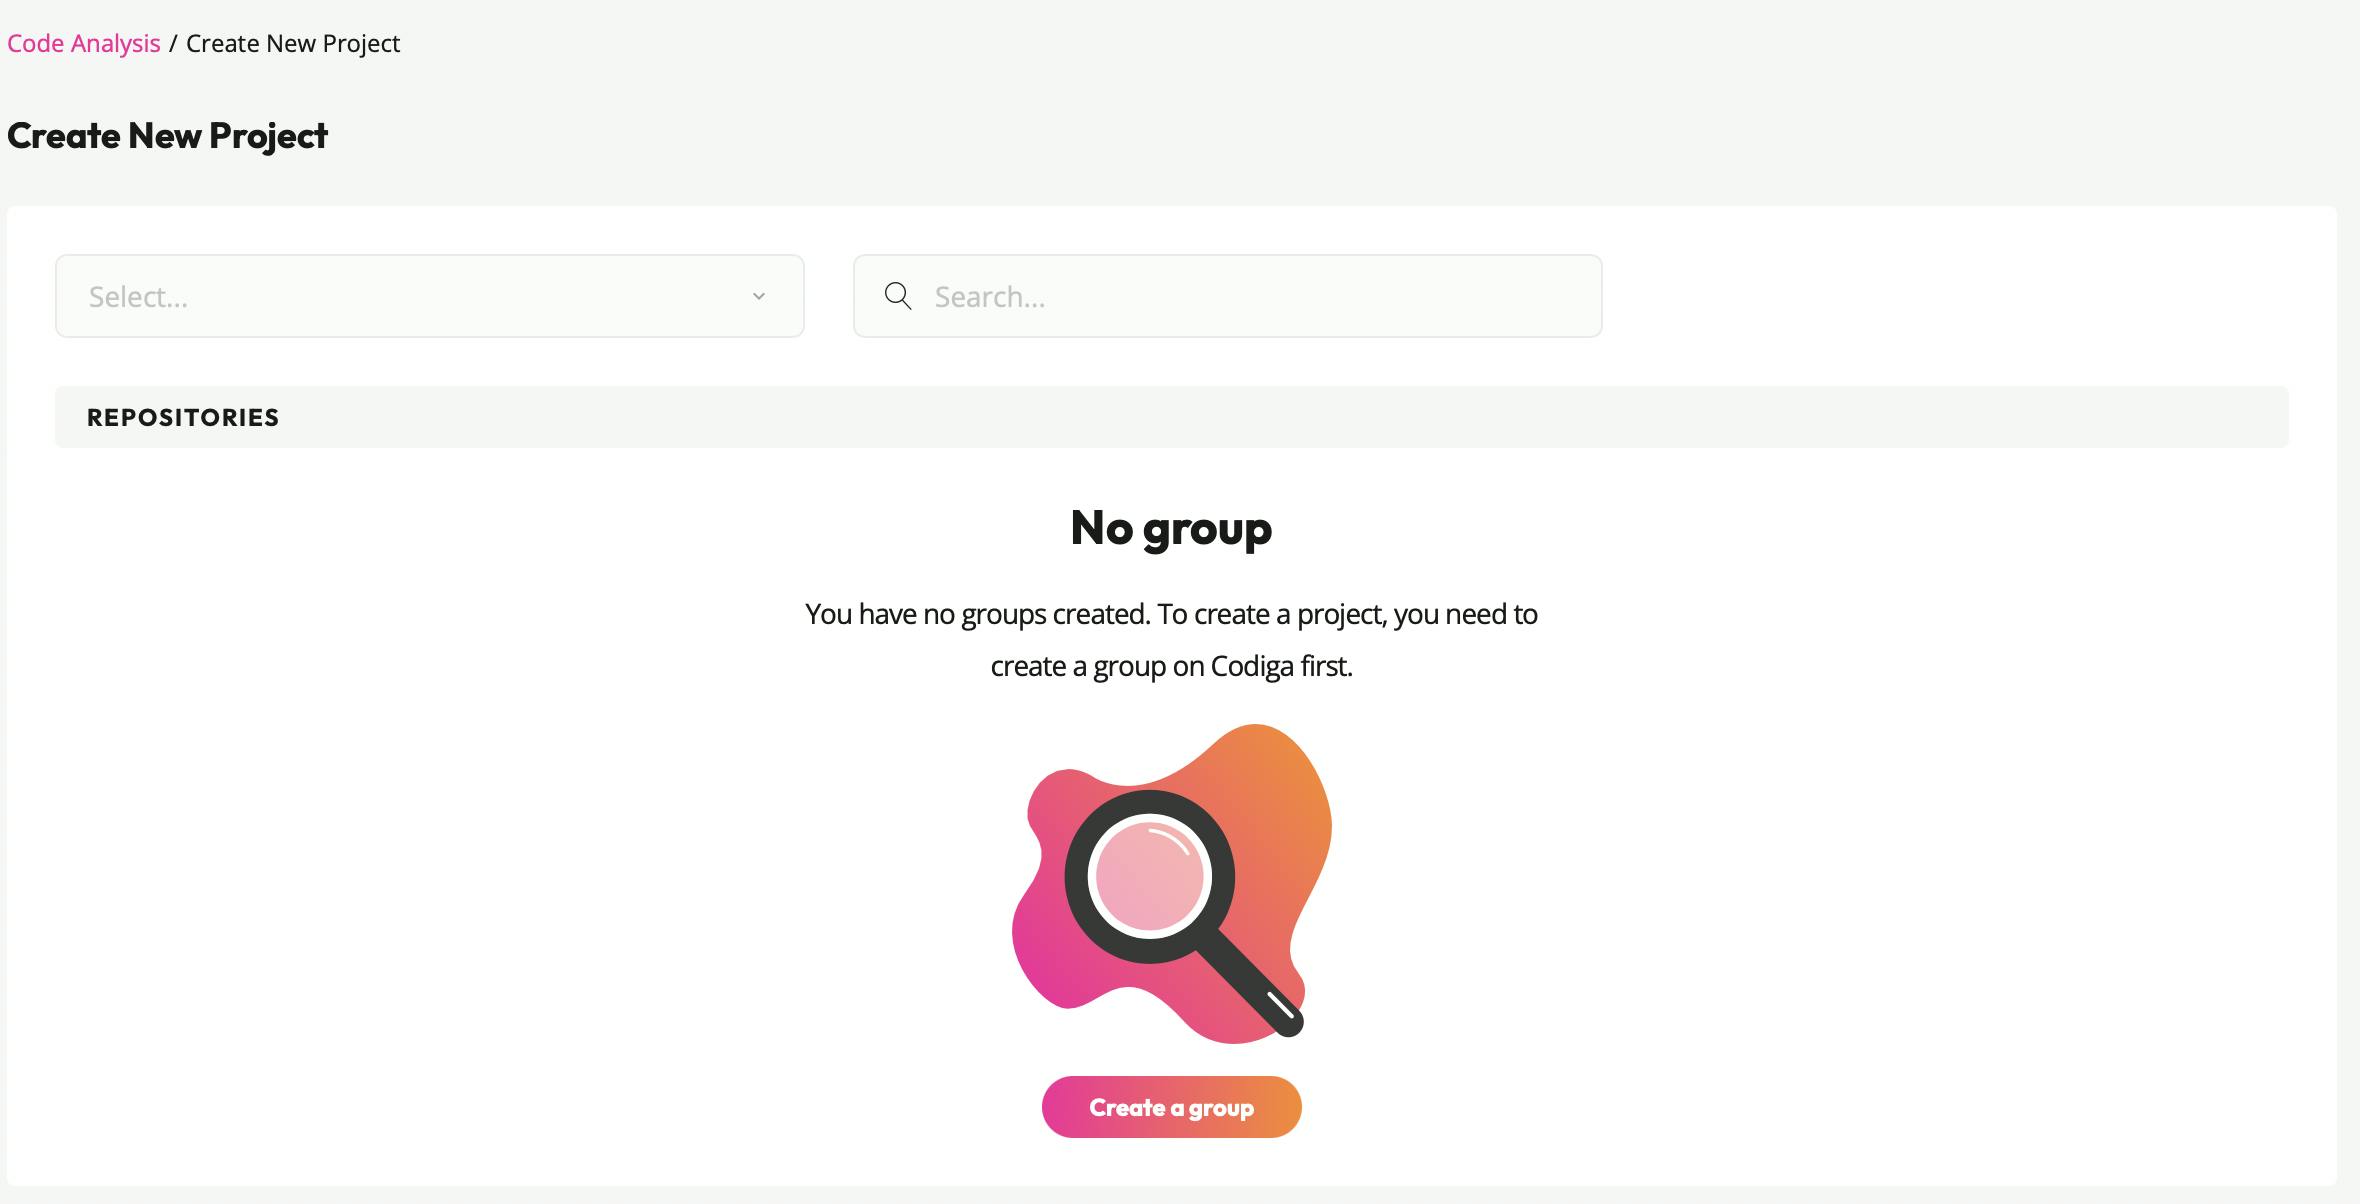
To create a new project, you need to create a group. So install Github on Codiga to join a new Group.

Give codiga access to a repository. I selected the repository I will be running my code analysis on.
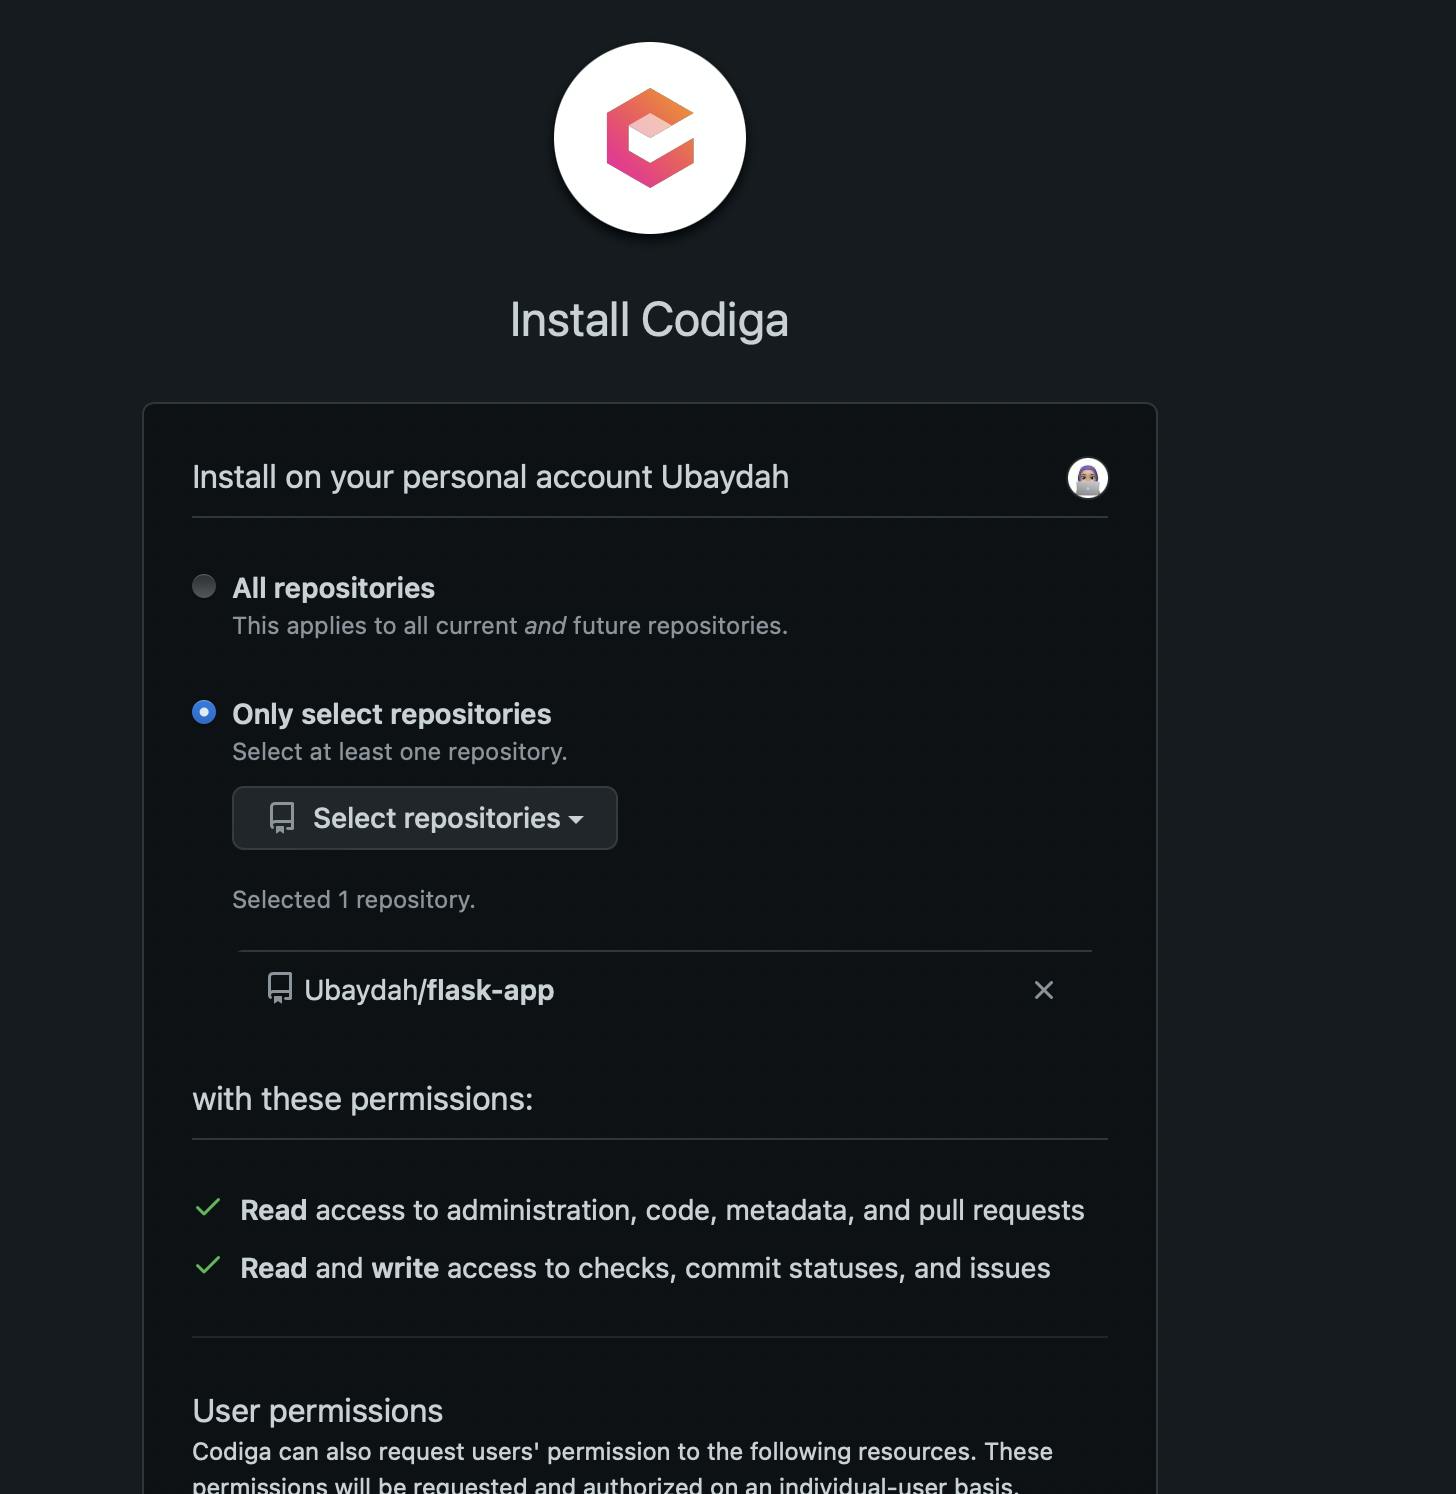
After installation, it redirects back to the code analysis dashboard. Join the newly created group.
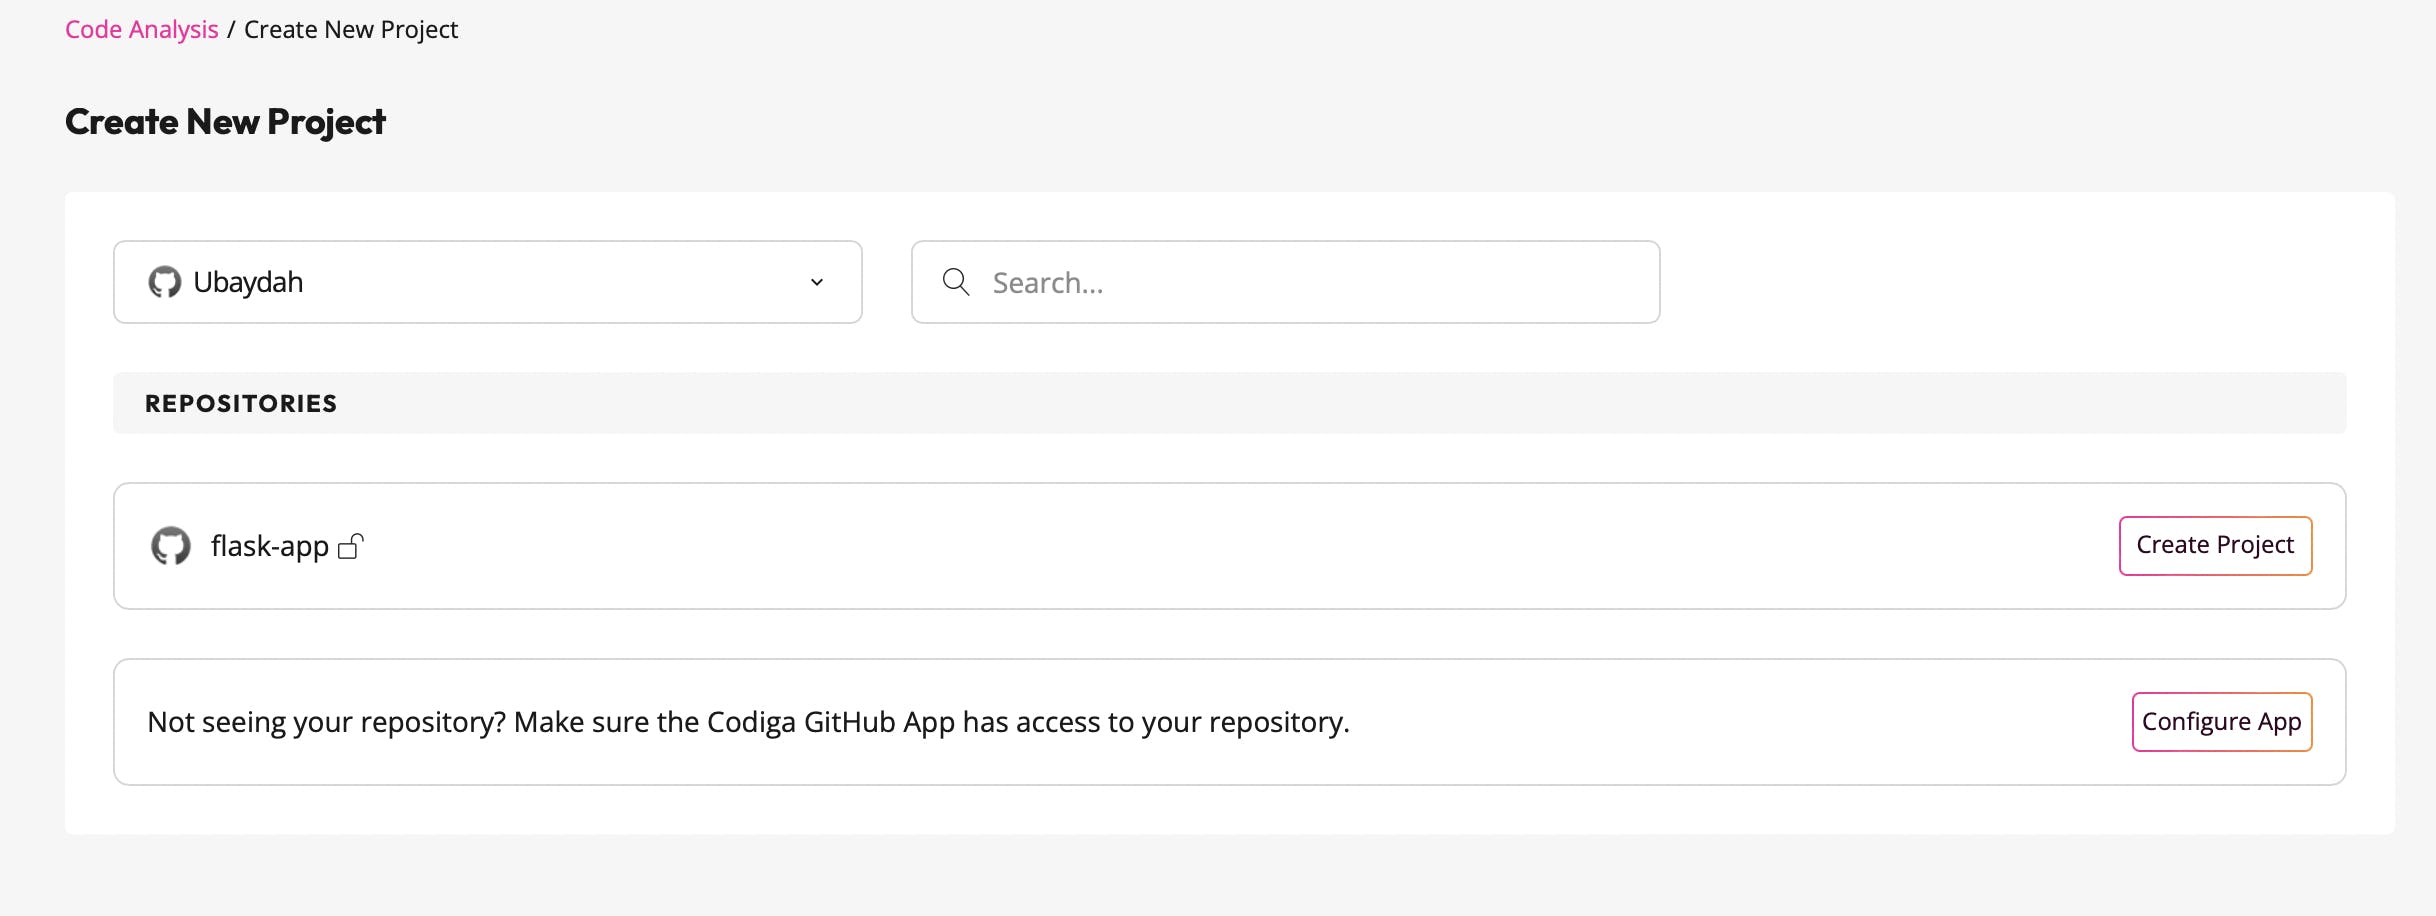
Then, create a new project and select your repository.

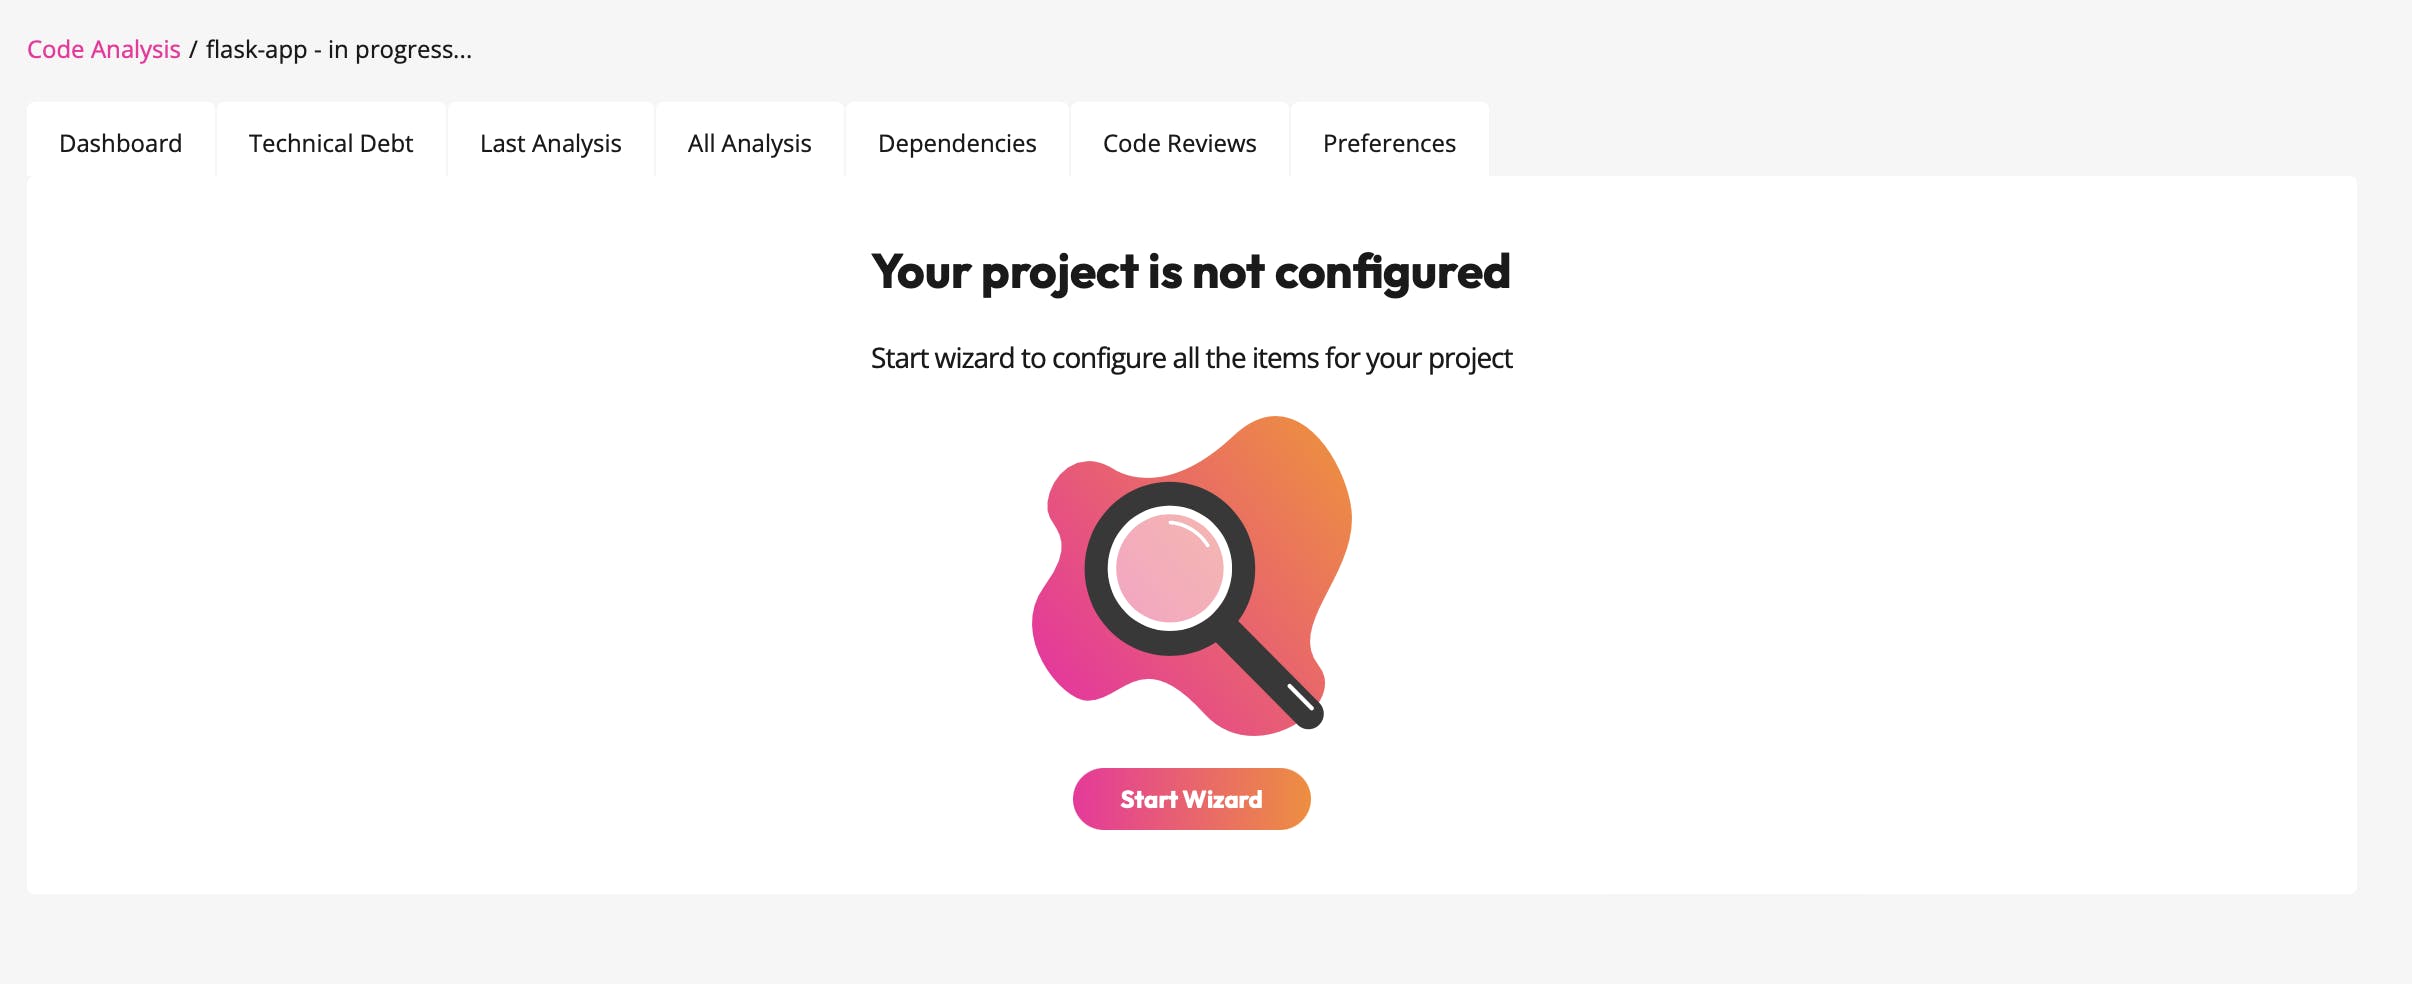
Start wizard to configure all items to your project.
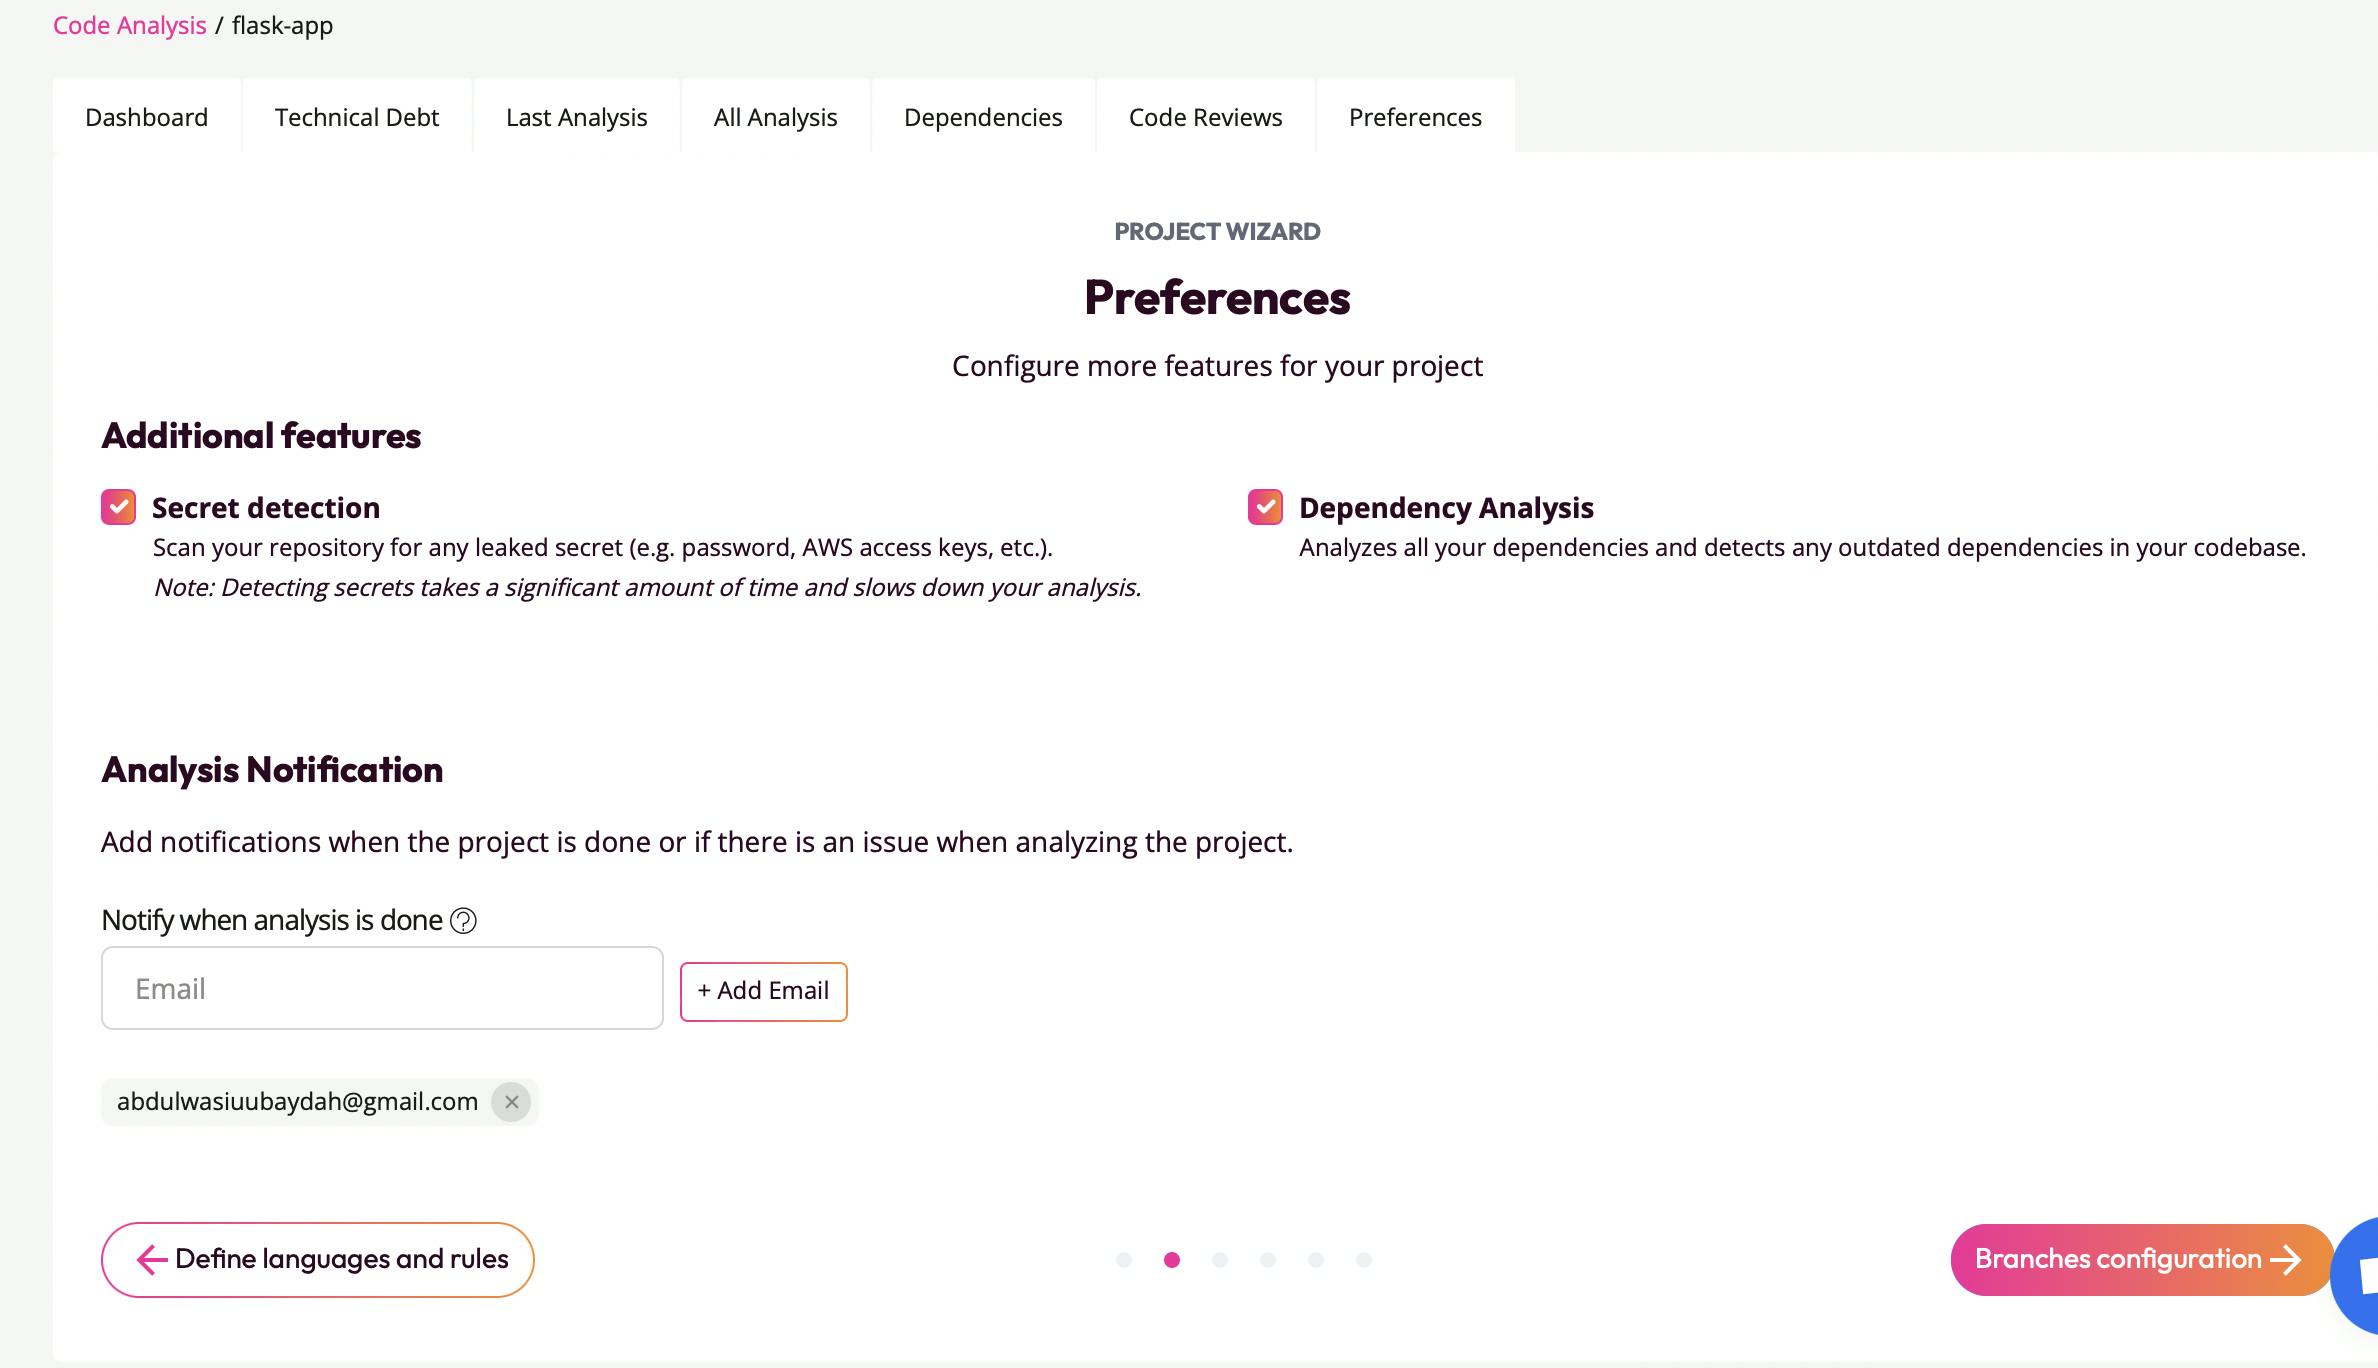
Add more features and save your preferences. Codiga ensures proper analysis of your codebase including secrets detection.
Configure your default branch for analysis. You can also add additional branches you want to carry out your code analysis on.
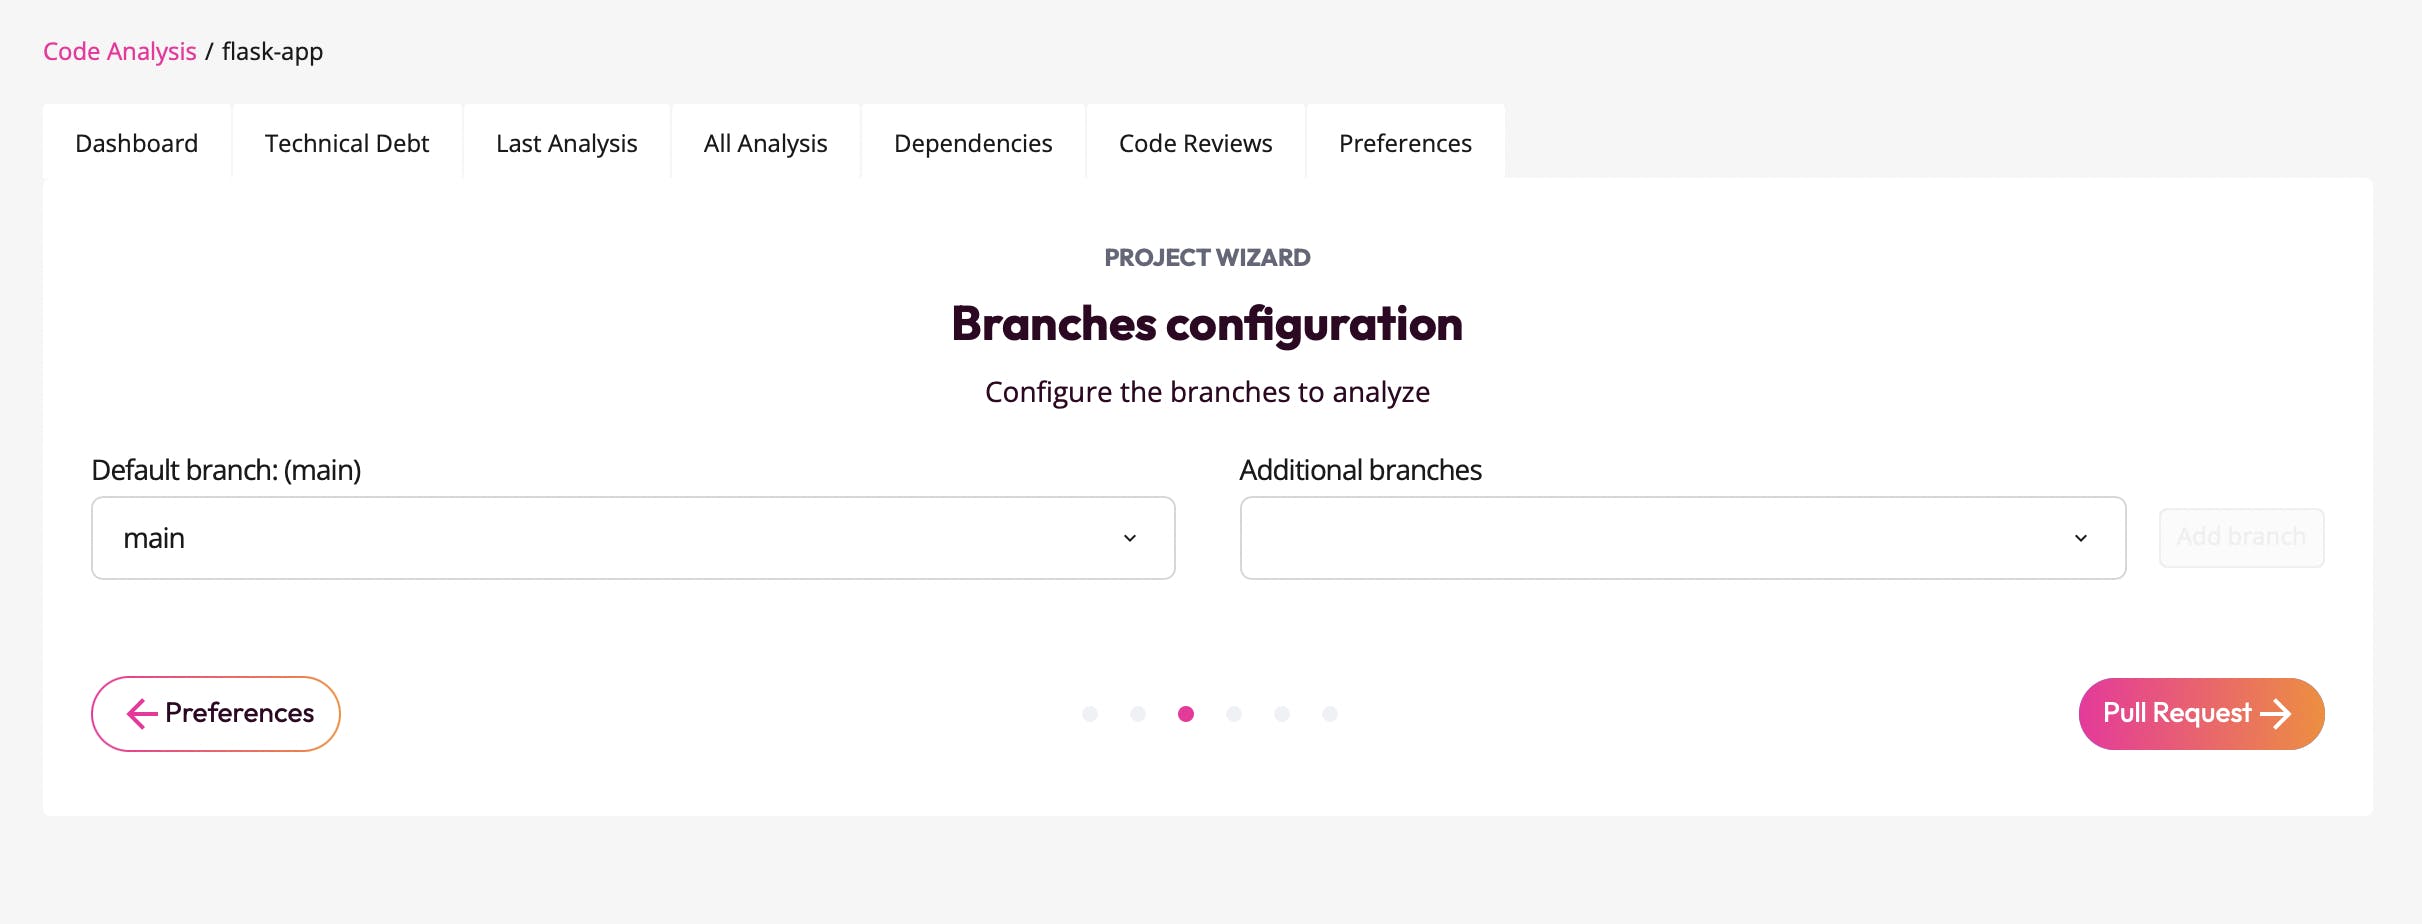
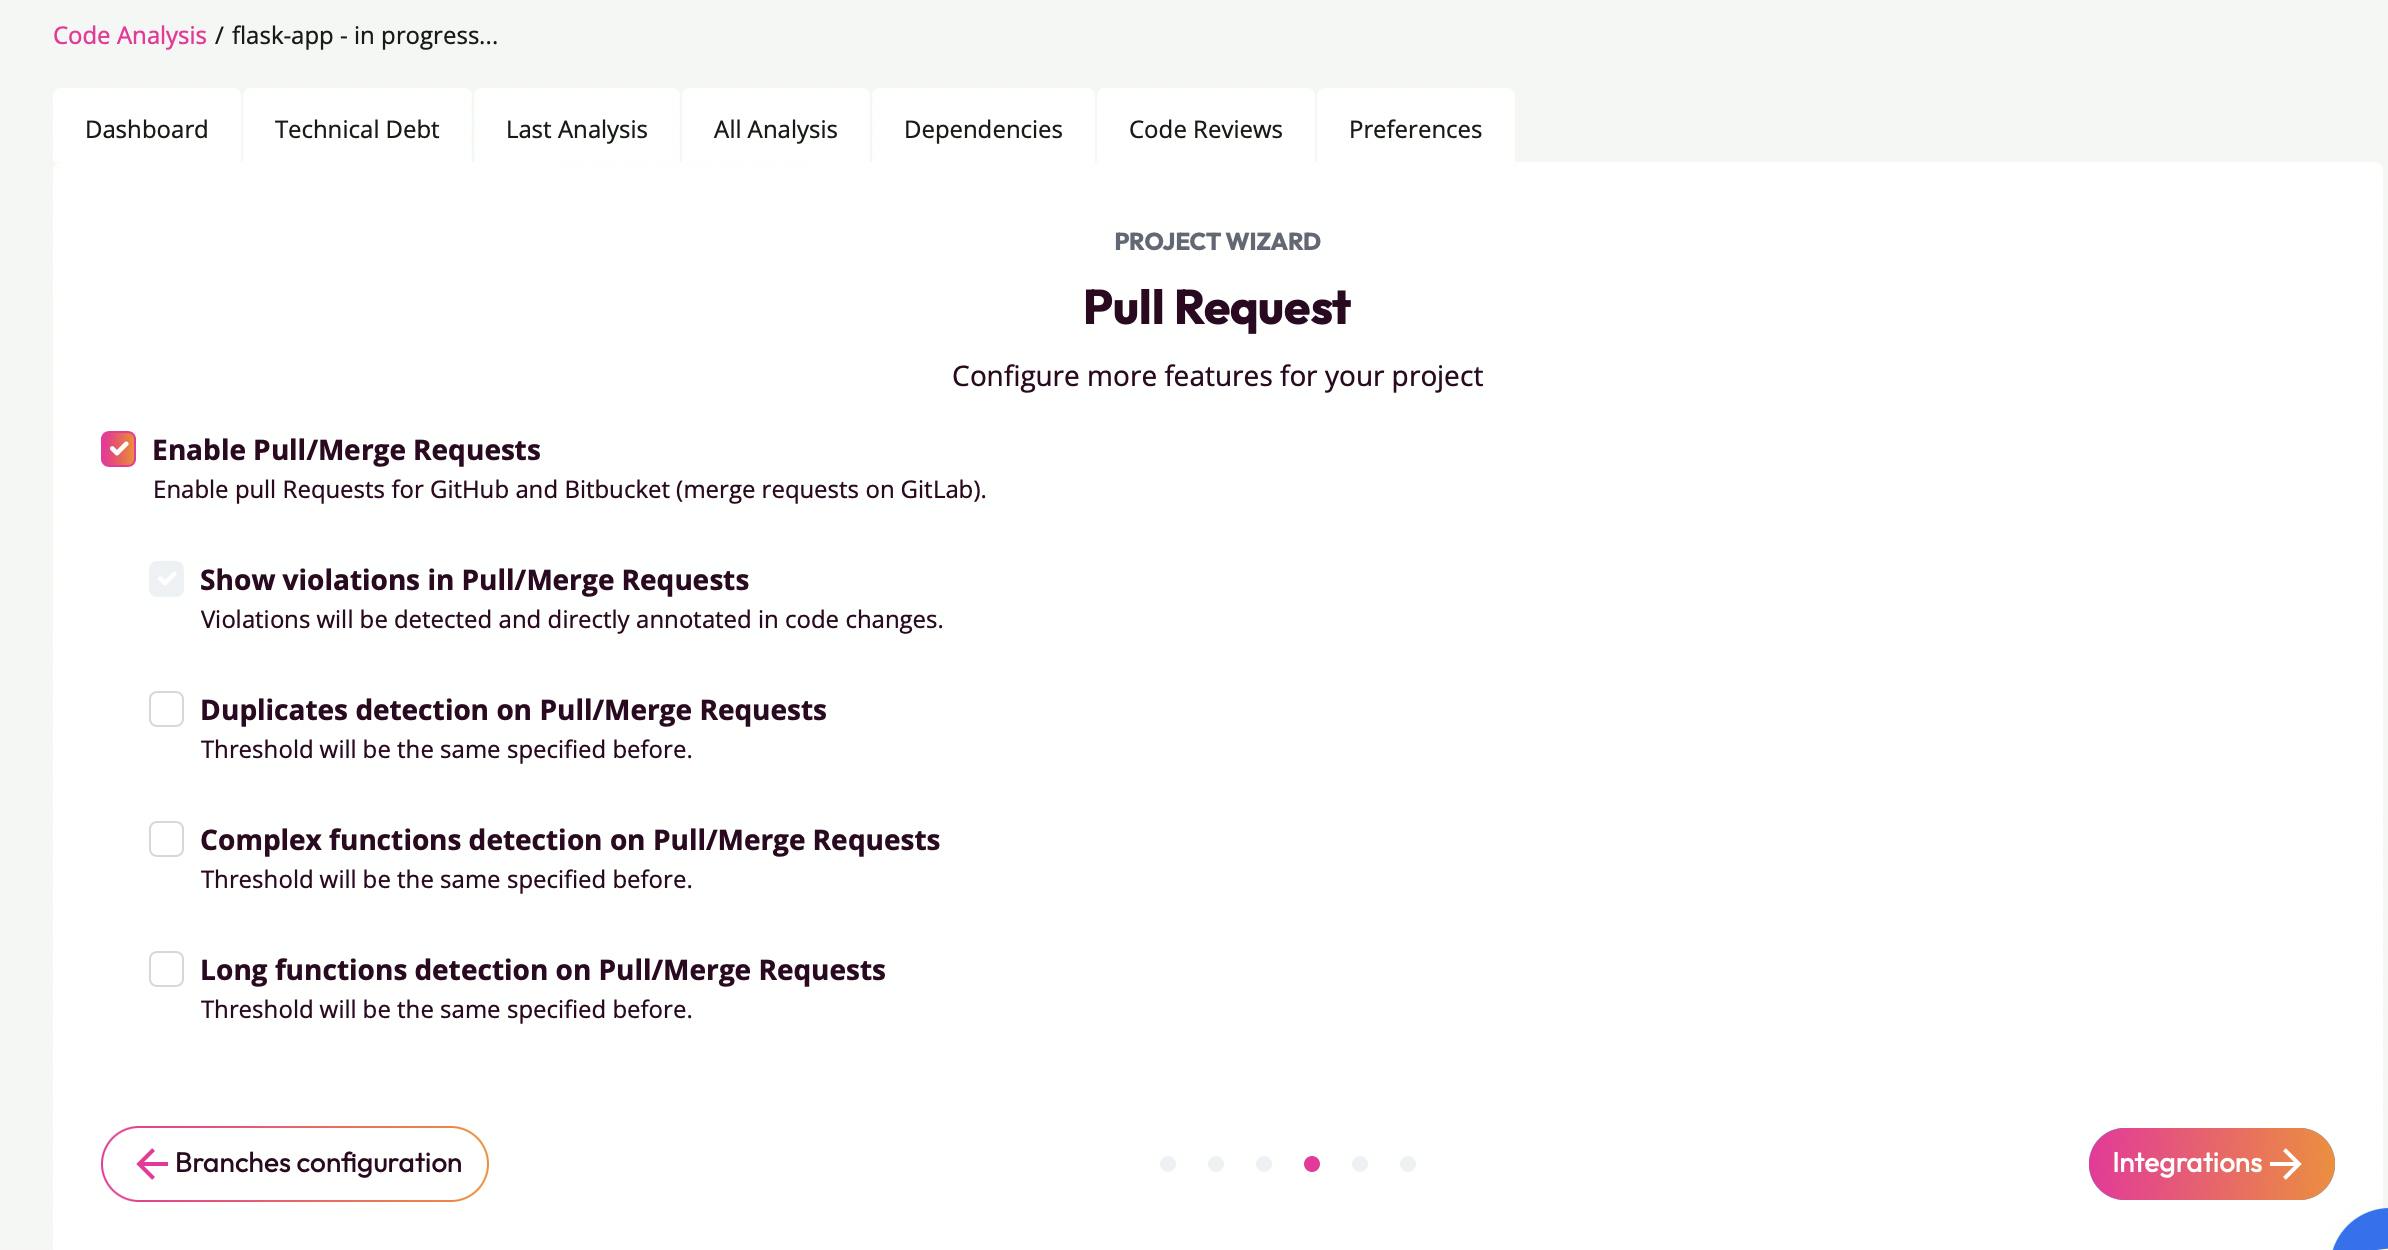
Enable code reviews on pull requests
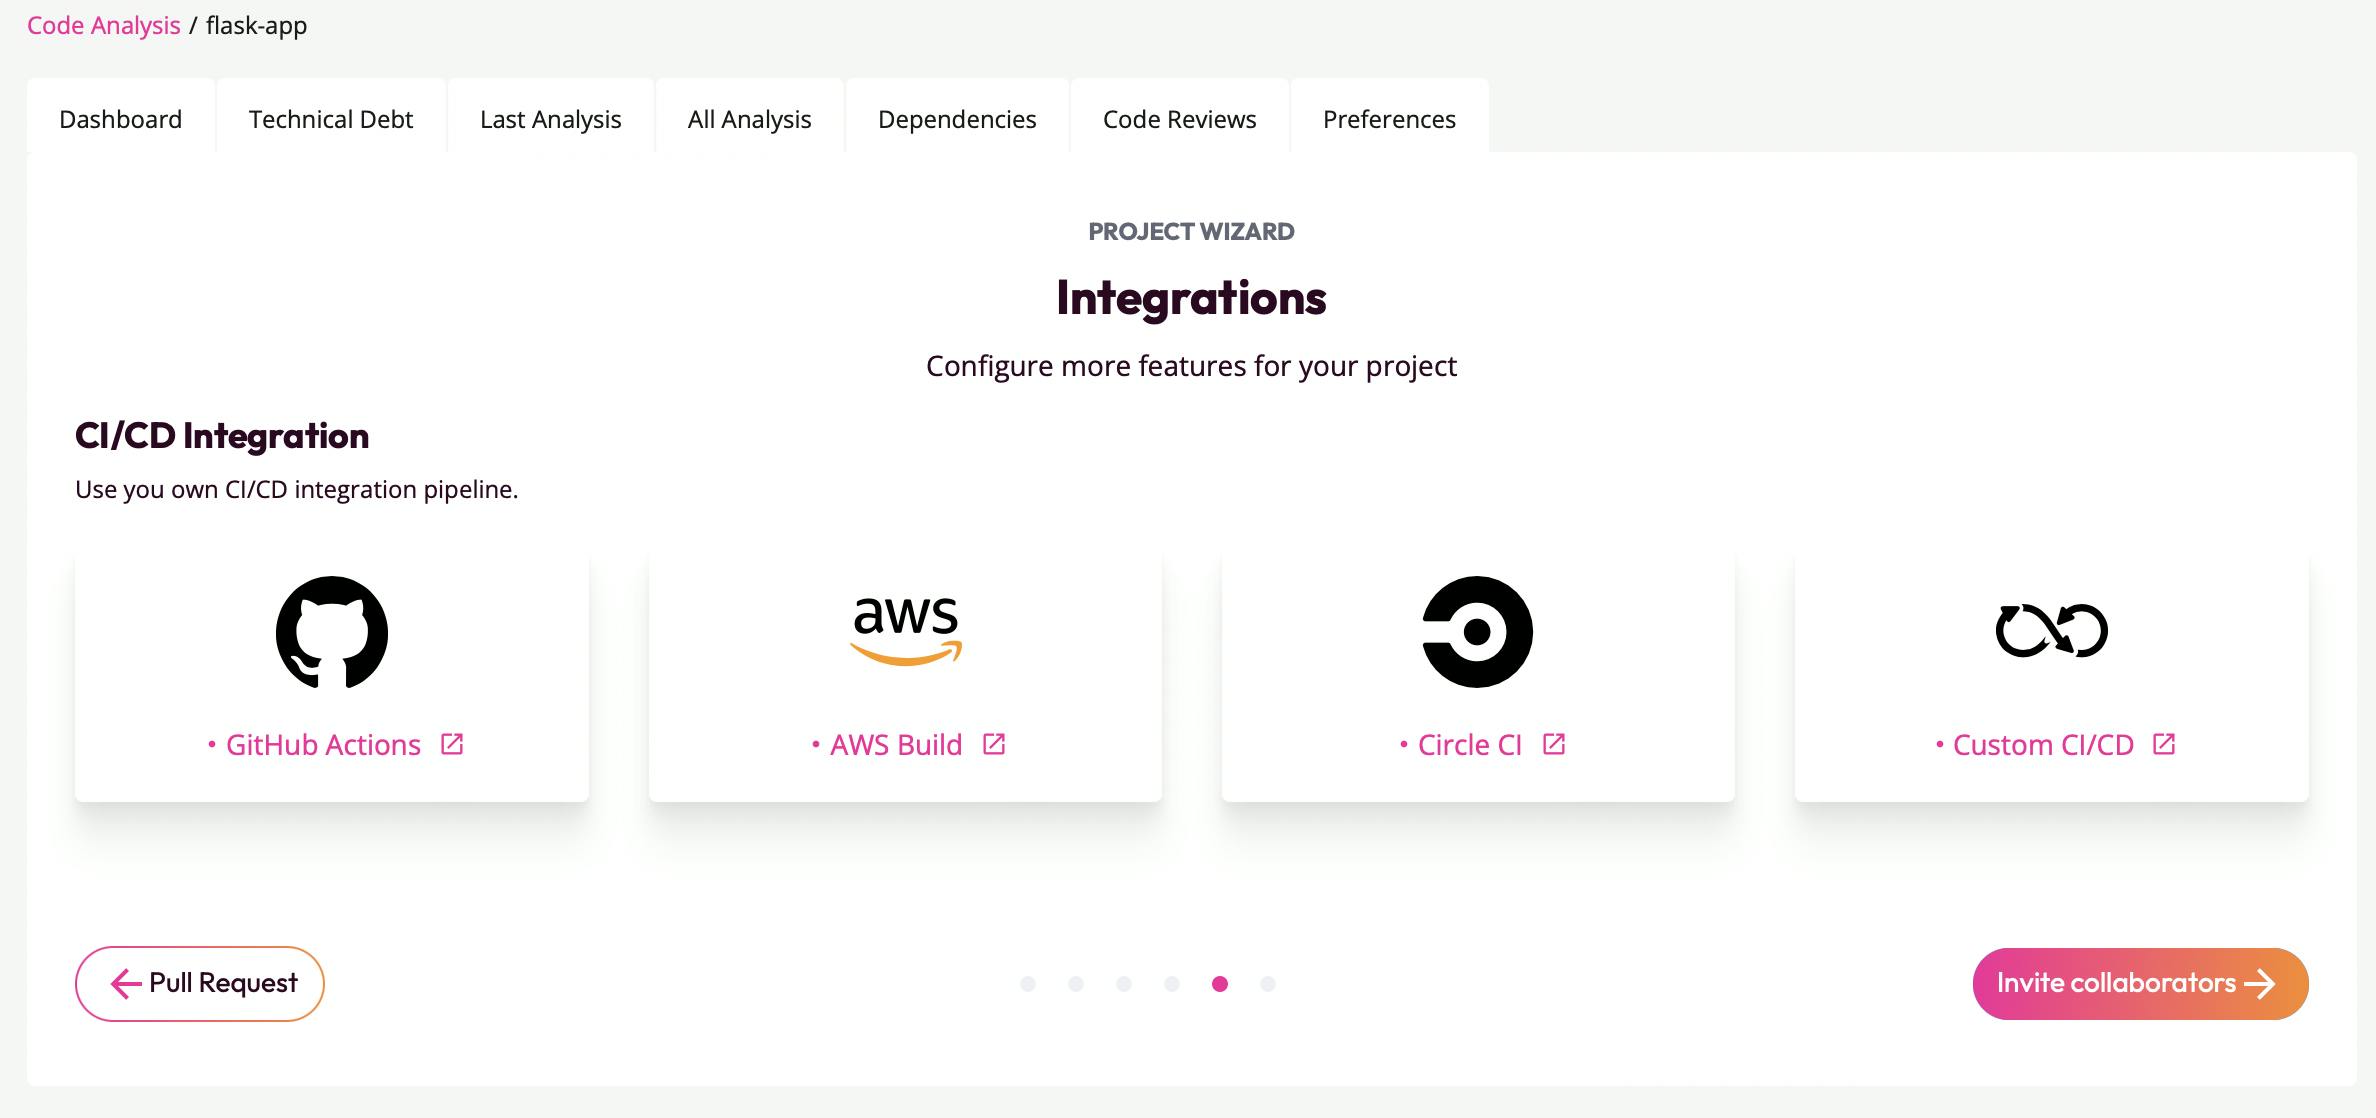
Codiga allows you to configure your CI/CD integrations. You can also invite collaborators to your project by sending an invite link to their mail.
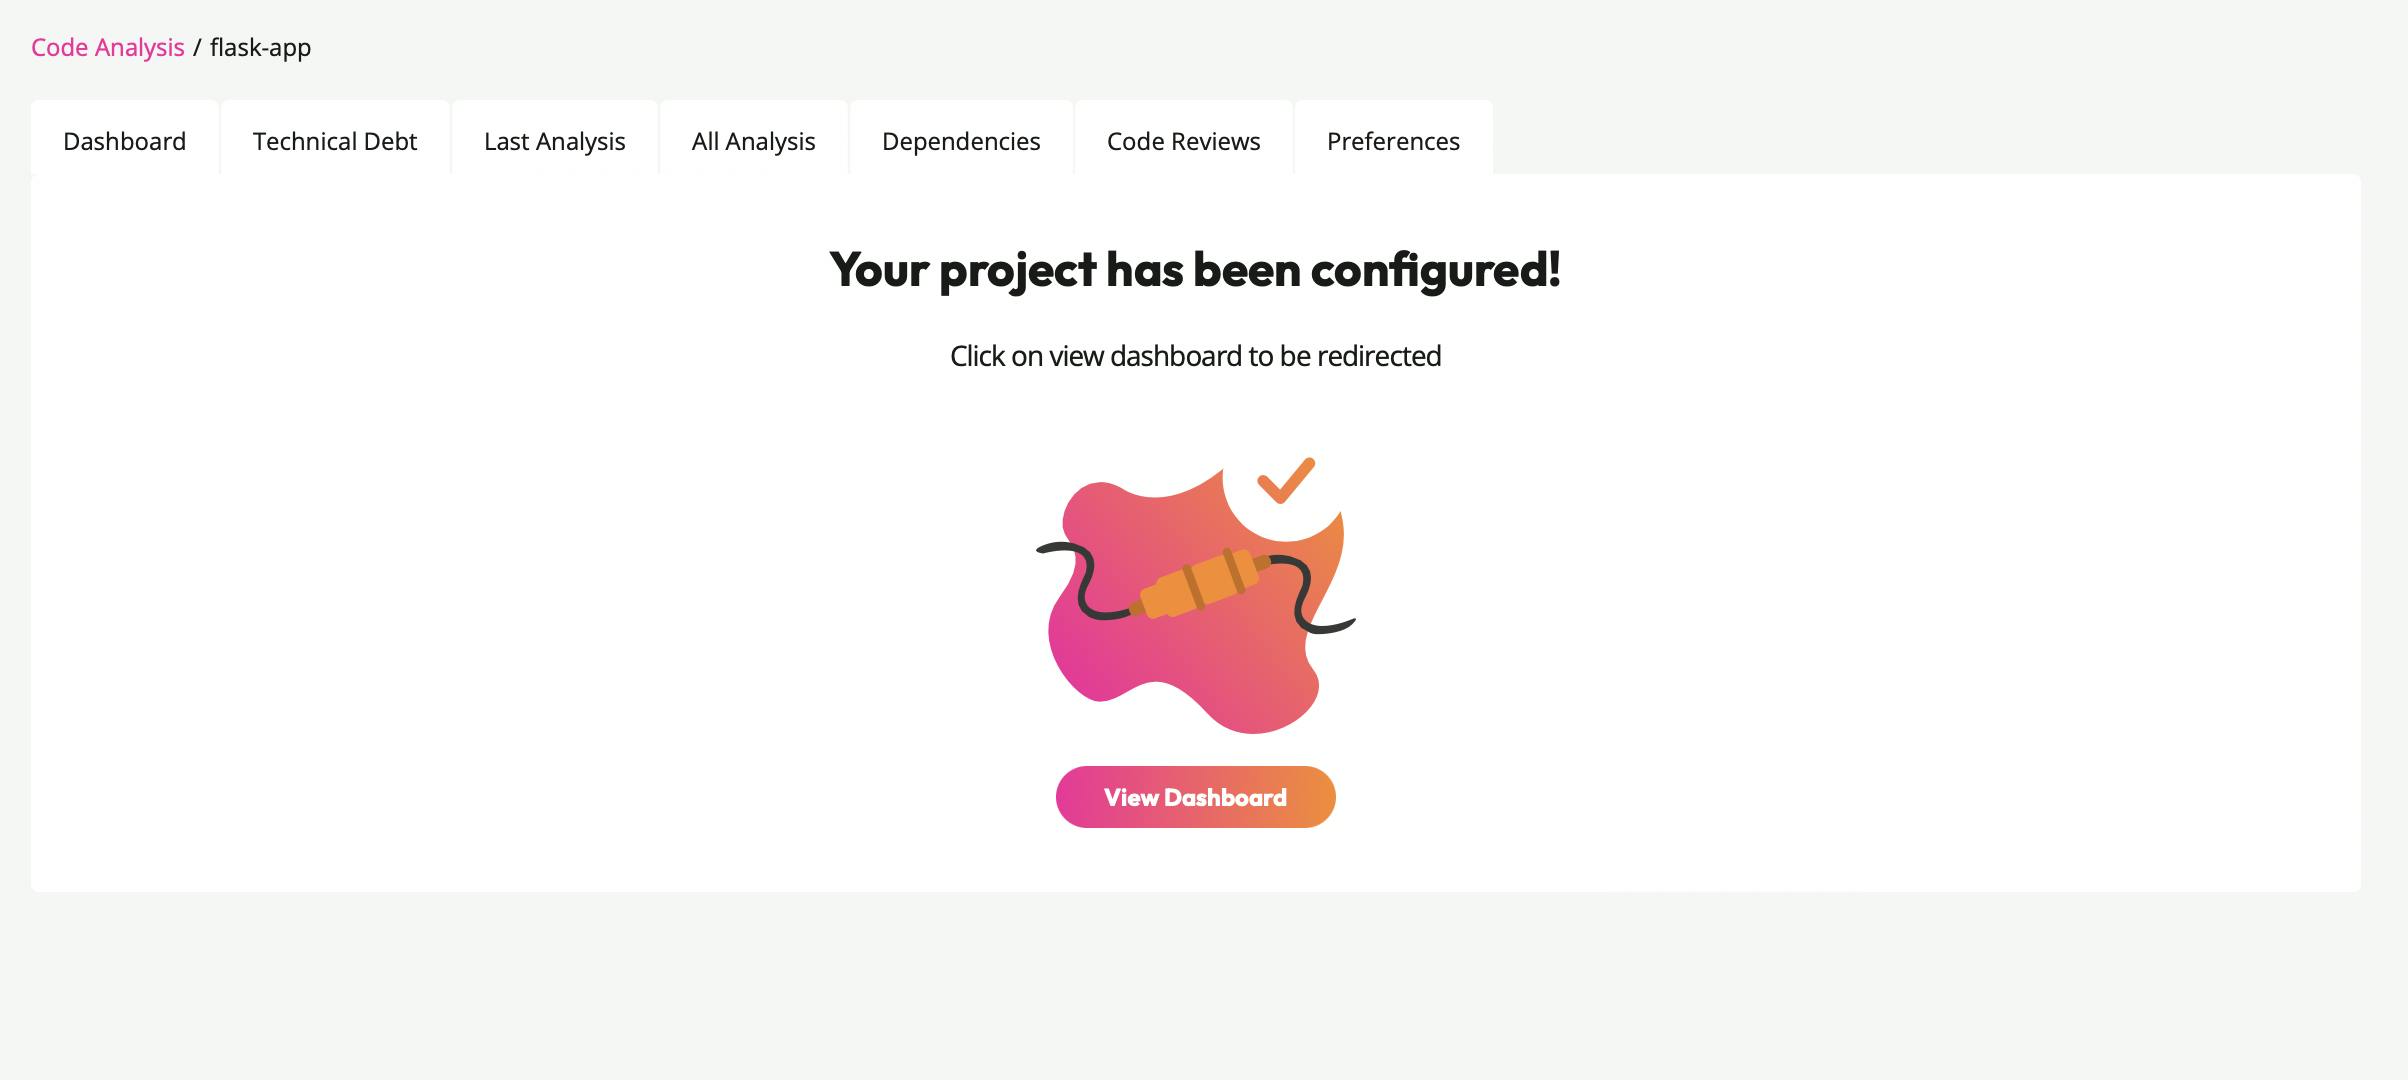
Yay! You can now view your project.
Navigate to your dashboard to view the overall performance of your code.
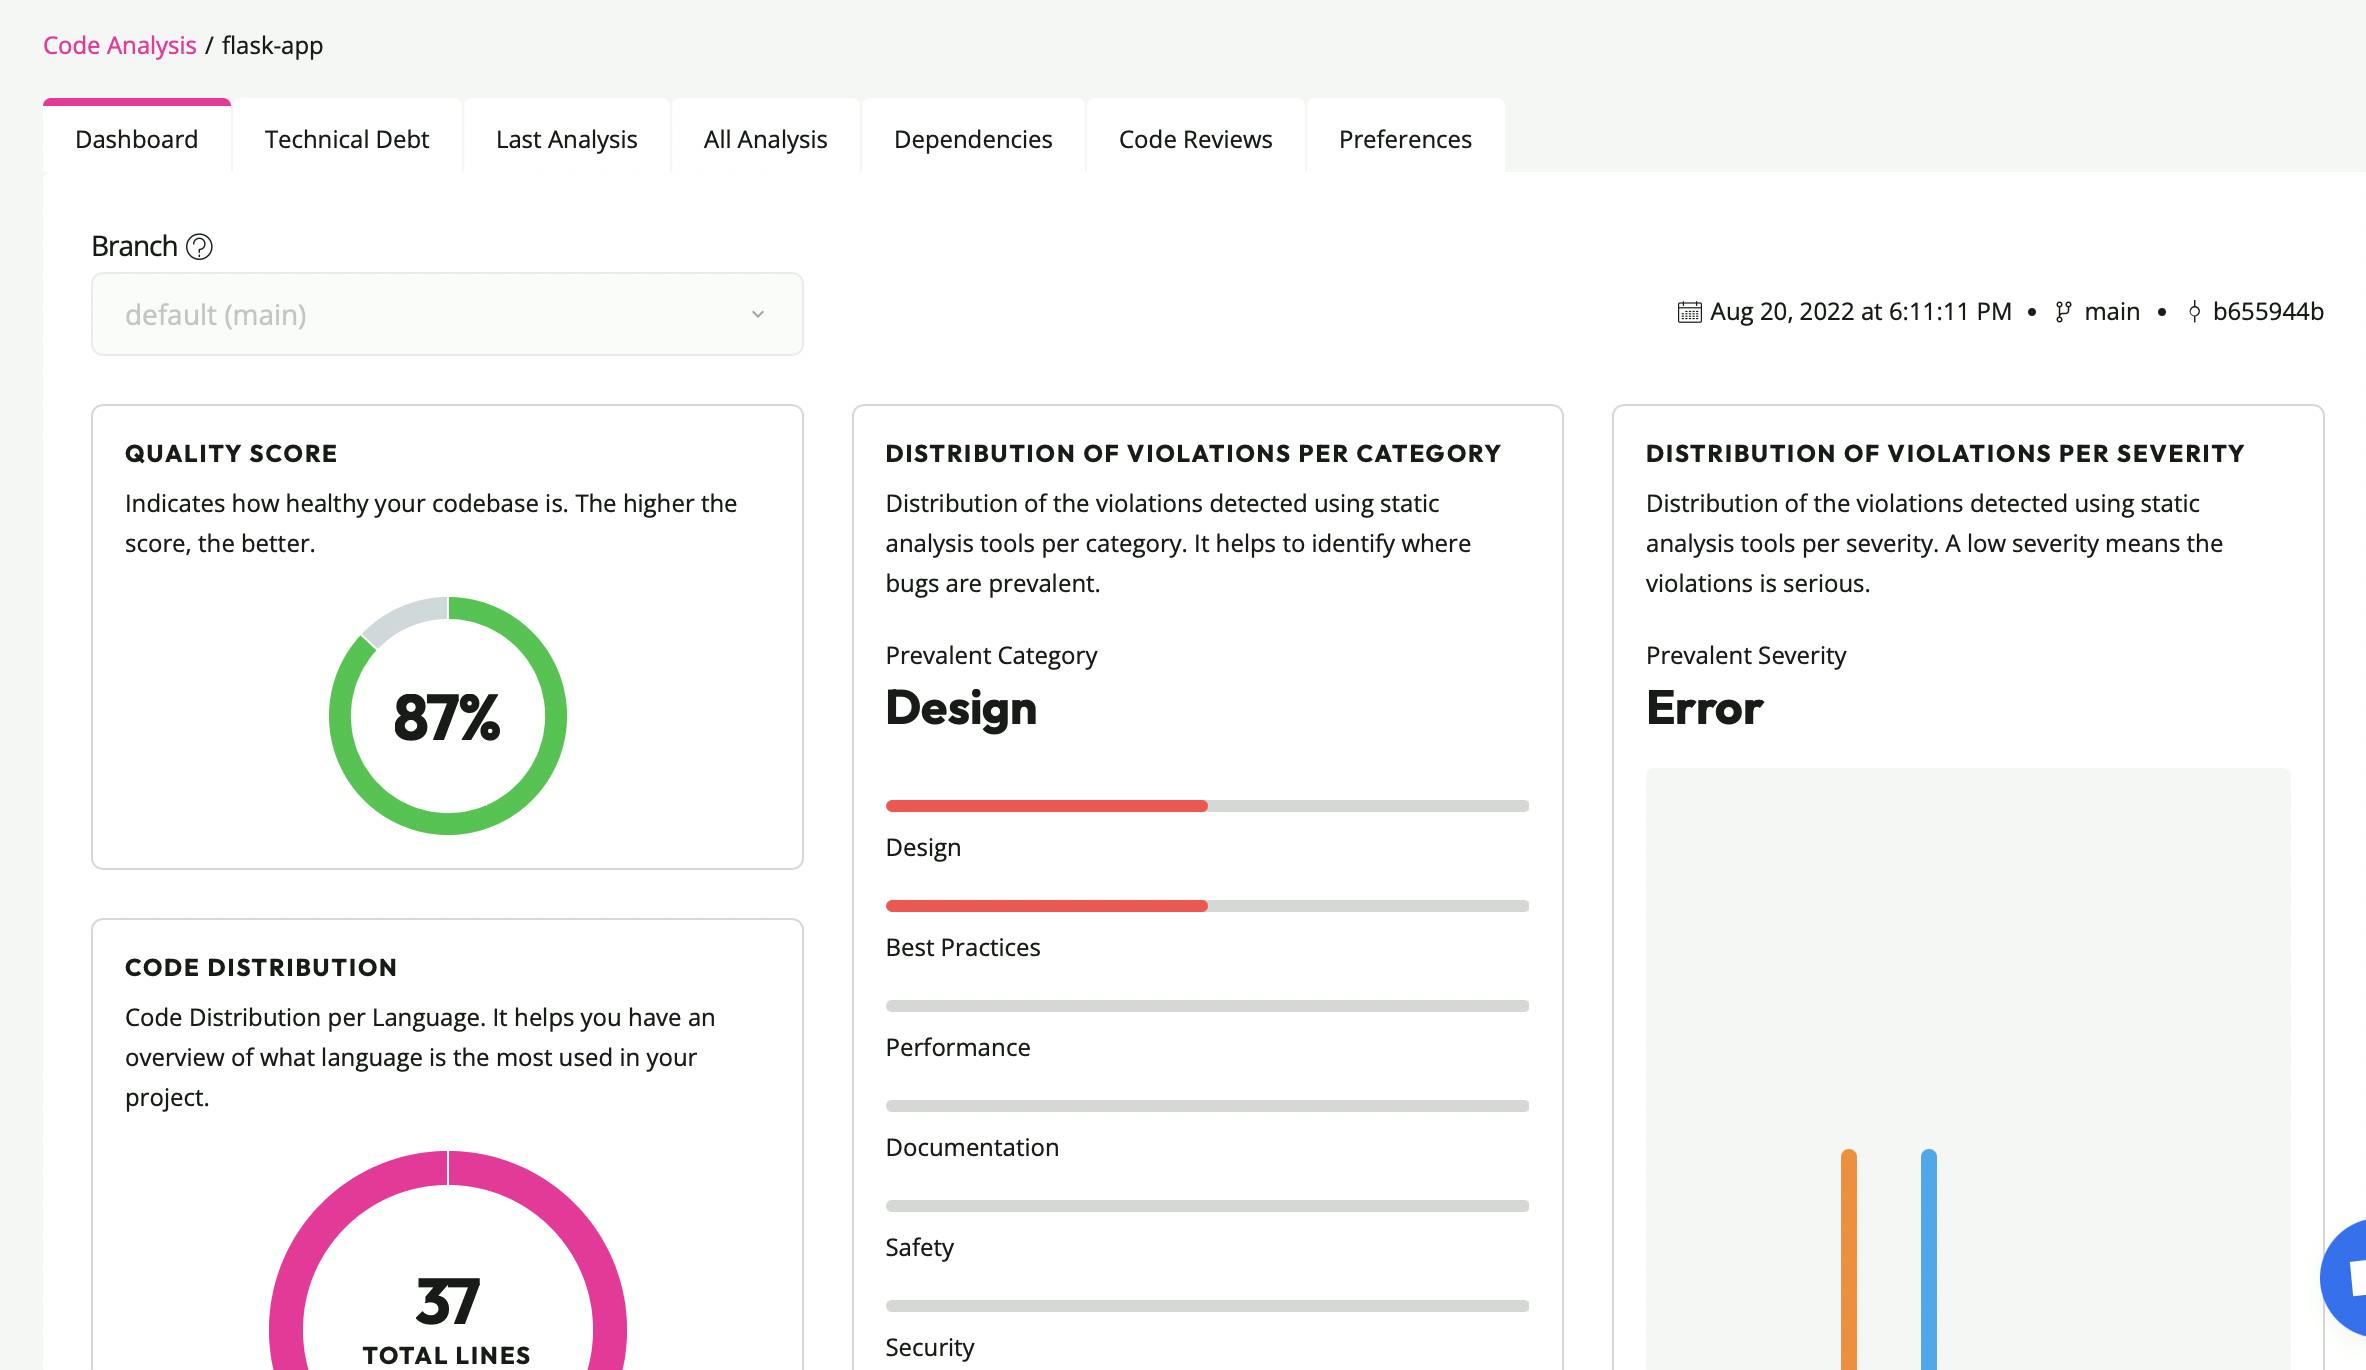
From the pic above, my codebase is 87% healthy and I have two violations in my codes in the design and best practices used.
Navigate to the Last Analysis panel to view your violations.

Click on the violations panel to view a proper analysis of the violations.
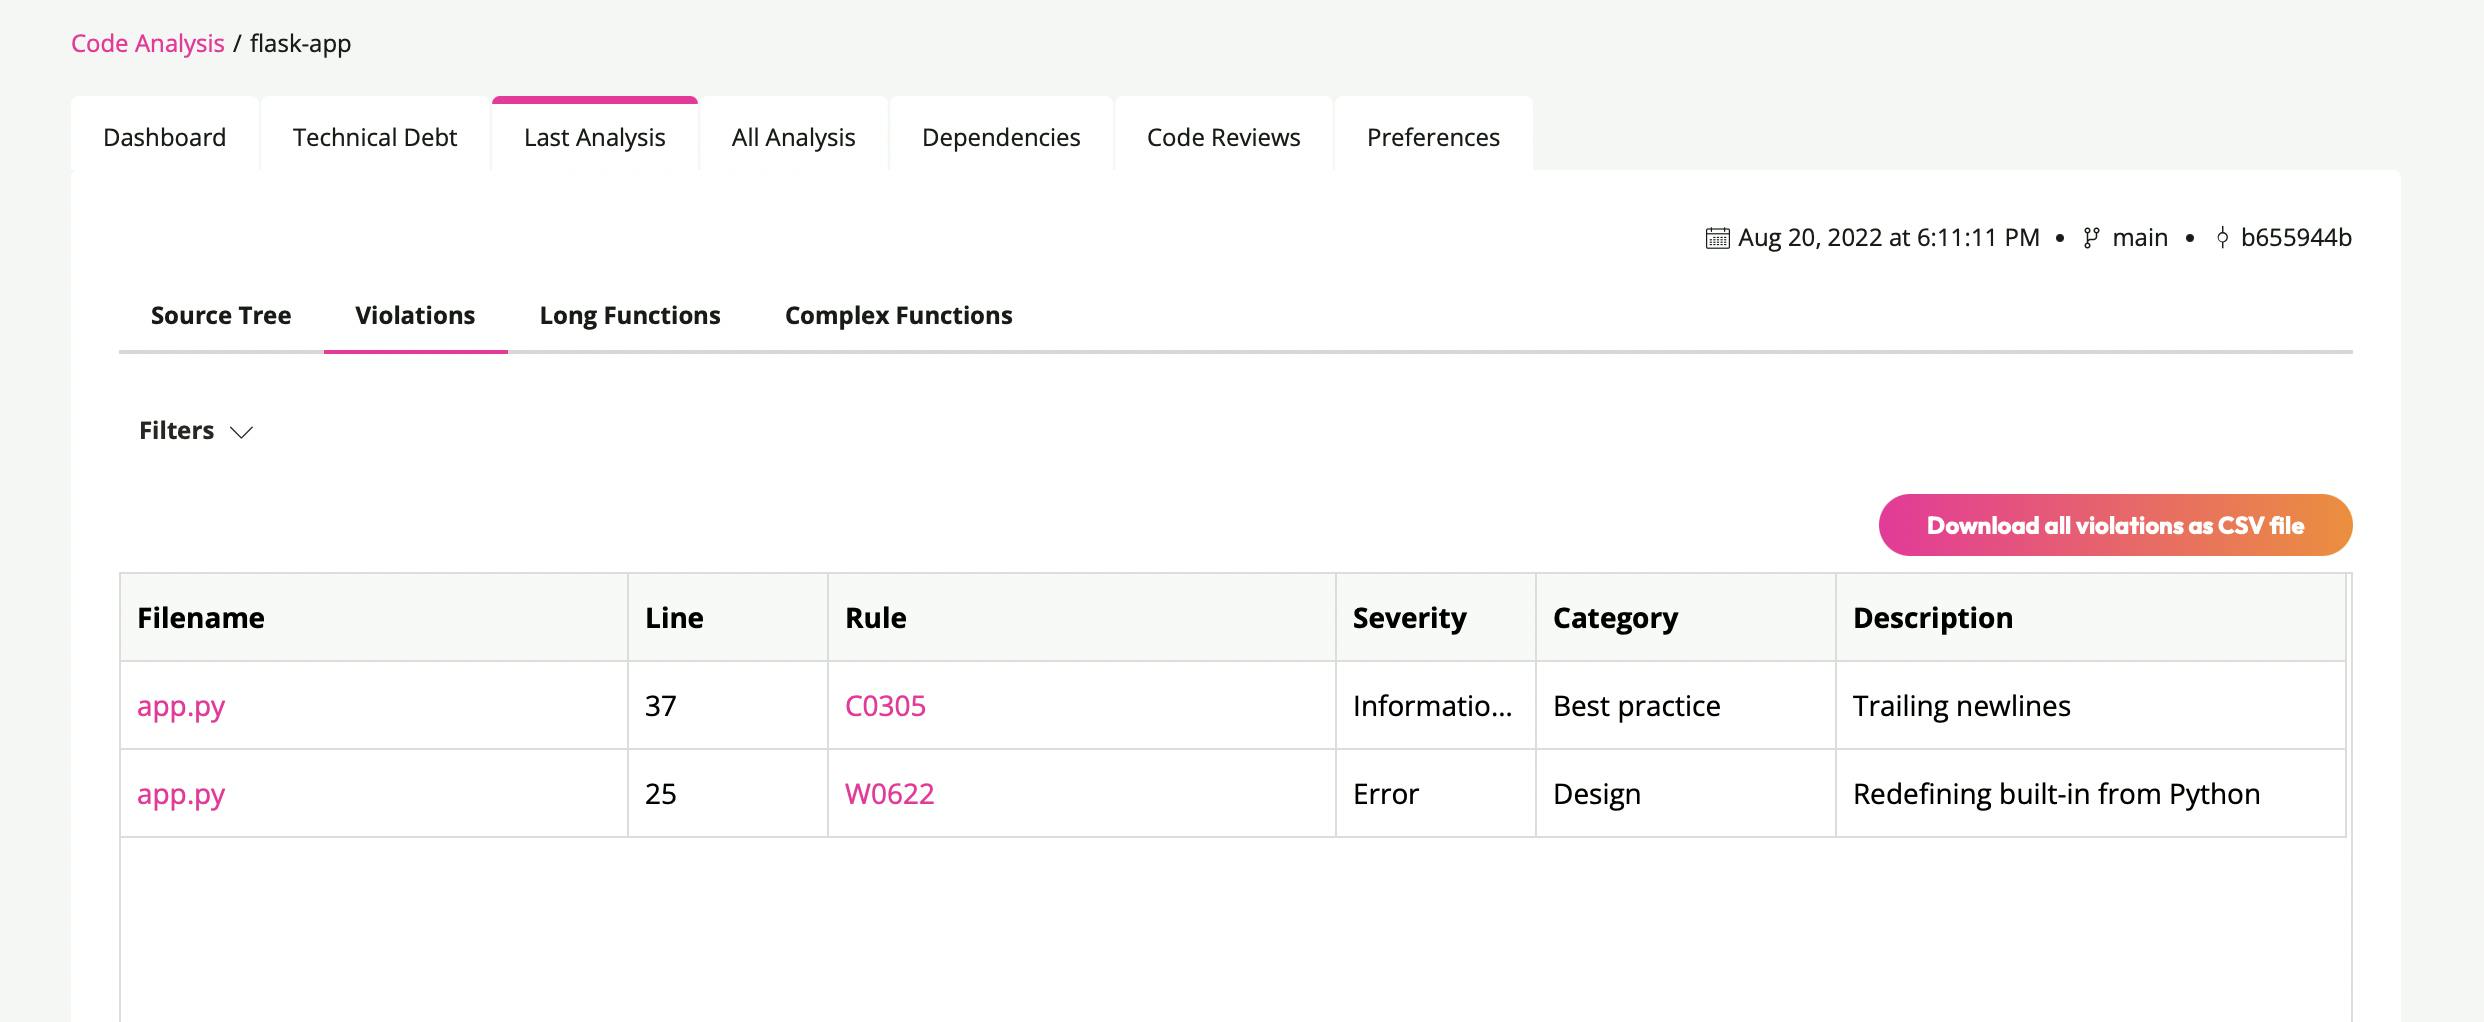
Codiga gives you a proper breakdown of the errors and violations in your codes to ensure you get to fix them faster without stress.
To enable a code review, make a PR to the main branch in your Github repository.
Learn how to create a pull request here.
I fixed the violations made in the codebase and created a new PR for the codebase.
Codiga automatically ran a review on the PR.
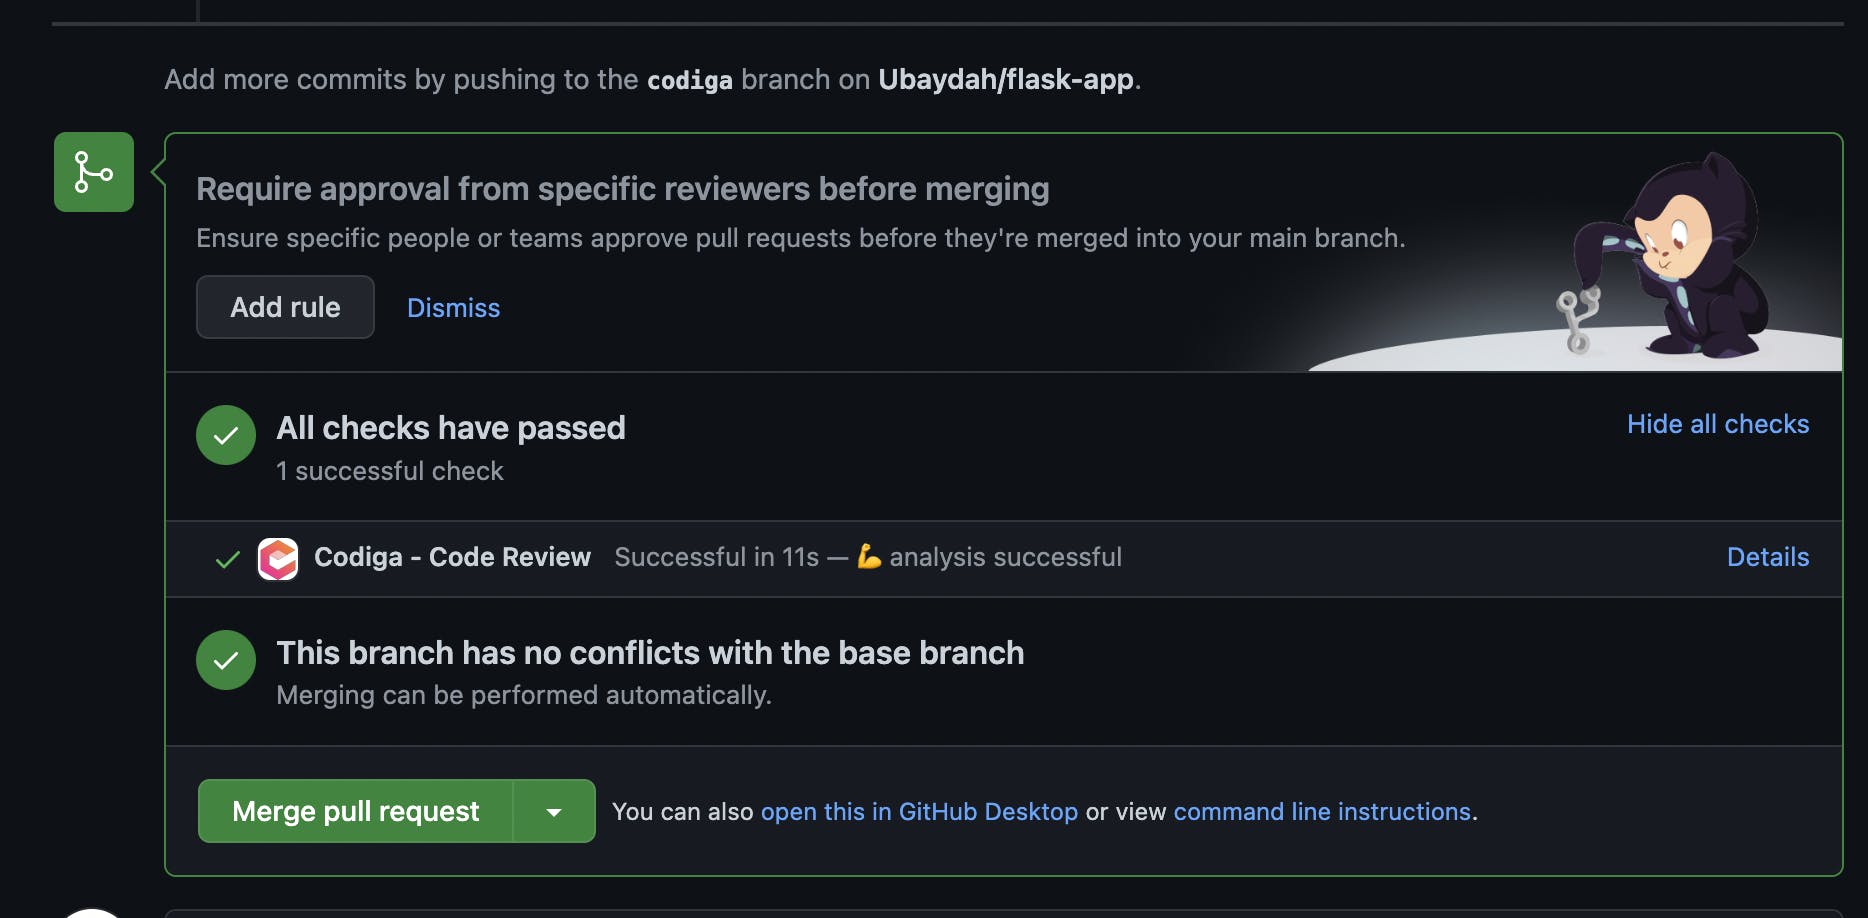
From the pic above, the analysis was successful, and checks successfully passed.
Conclusion
Codiga makes us better developers by ensuring proper checks and analysis on the codebase. In this article, we have explored how to build better APIs in python by running automatic reviews and analyses on our codebase in a few seconds using Codiga.
** Quick Links **
