
Implementing API in Django Rest Framework to upload and store Images in cloudinary


Introduction
I recently worked with Cloudinary, and I used it to store images for my app. I am writing this article to introduce you to Cloudinary, and also explain how you can implement an API in Django rest framework that stores an image to cloudinary and return the Cloudinary image URL.
Let's get started
Prerequisites
You will need the Knowledge of the following to flow well with the tutorial:
- A good understanding of Python
- Knowledge of Django and Django Rest Framework
- Basic knowledge of Postman to test endpoints
- A cloudinary account
What is Cloudinary?
Cloudinary is a platform for developers, freelancers, and small and medium-sized businesses to manage, store, and optimize images and videos for websites and mobile apps in the cloud and deliver them easily.
Cloudinary offers a fully featured free plan for users to get started which migrates later on to a pro plan if the usage limit is exceeded.
Implementing API to store images in cloudinary
Step one
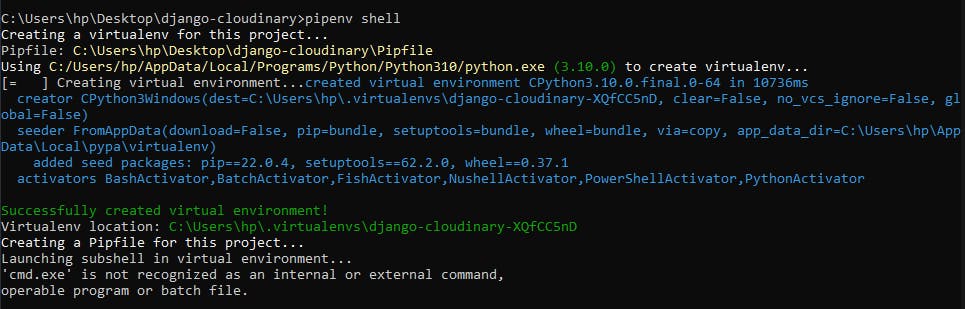
Create a new folder and activate a virtual environment in it
Step two
Install Django, Djangorestframework, and the cloudinary library in your environment using pipenv install django, pipenv install djangorestframework and pipenv install cloudinary respectively.
Step three
Create a new Django project, go to the project directory to create a new app
$ django-admin startproject common

$ cd common

$ python manage.py startapp index
Step four
Add the installed app and rest_framework in settings.py.
INSTALLED_APPS = [
             .......
             'index',
             'rest_framework',

]
Step five
Create a urls.py file for the app and include the file in the project urls.py
from django.contrib import admin
from django.urls import path, include

urlpatterns = [
    path('admin/', admin.site.urls),
    path('', include('index.urls')),
]
in app's urls.py file
from django.urls import path

urlpatterns = [

]
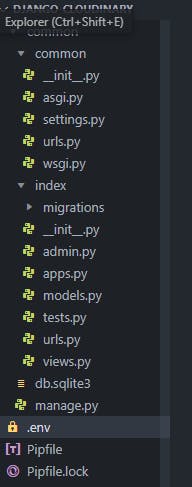
Your files structure should look like this
Step six
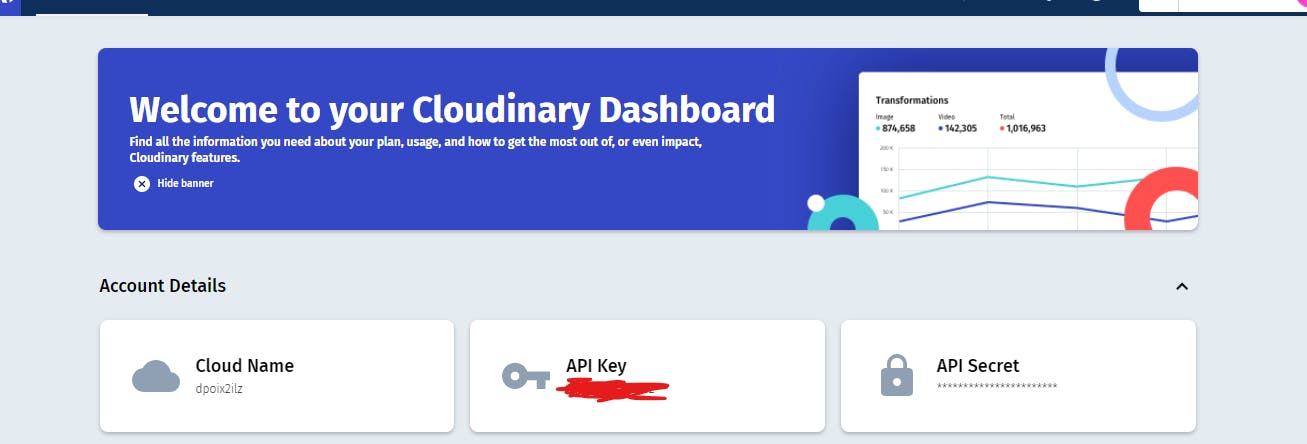
Create a Cloudinary account and get your API key, API Secret, and cloud name from the dashboard.
Add your cloudinary variables in .env file as environment variables and import cloudinary and os libraries in settings.py.
import cloudinary
import os
Add the following codes to setup Cloudinary in settings.py
cloudinary.config(
    cloud_name=os.environ.get("CLOUDINARY_CLOUD_NAME"),
    api_key=os.environ.get("CLOUDINARY_API_KEY"),
    api_secret=os.environ.get("CLOUDINARY_API_SECRET"),
)
Step seven
Create a model for images in models.py
from django.db import models
from django.utils import timezone
from cloudinary.models import CloudinaryField


class Image(models.Model):

    image = CloudinaryField("image")
    timestamp = models.DateTimeField(default=timezone.now)

    @property
    def image_url(self):
        return (
            f"https://res.cloudinary.com/dpoix2ilz/{self.image}"
        )
I created a model to store Image and the time_created in the database. The @property method is used to access the Cloudinary image URL from the database after it has been uploaded.
The letters after cloudinary.com is your cloudinary cloud name.
Step eight
Run migrations in the terminal
$ python manage.py makemigrations

$ python manage.py migrate
Step nine
Create a serializer.py file for Images and add the Image serializer
from rest_framework import serializers
from .models import Image


class ImageSerializer(serializers.ModelSerializer):
    image_url = serializers.ReadOnlyField()

    class Meta:
        model = Image
        fields = ["image_url", "image", "timestamp"]

    def to_representation(self, instance):
        representation = super().to_representation(instance)
        representation.pop("image")

        return representation
I created a new field for the image_url and made it read_only. The to_representation method modifies the serializer's response and deletes the image field in the response because the django image URL isn't needed.
Step ten
In views.py file add the following codes
from rest_framework.generics import CreateAPIView
from rest_framework.parsers import MultiPartParser

from .models import Image
from .serializers import ImageSerializer


class UploadImage(CreateAPIView):

    serializer_class = ImageSerializer
    parser_classes = (MultiPartParser,)
    queryset = Image.objects.all()
The parser_classes parses the request and allows file uploading. It is used to support HTML form data.
Step eleven
create a URL path for the view in urls.py
from django.urls import path

from .views import UploadImage

urlpatterns = [
    path("image/upload", UploadImage.as_view())
    ]
Step twelve
Run your server with the command python manage.py runserver and upload an image in postman form
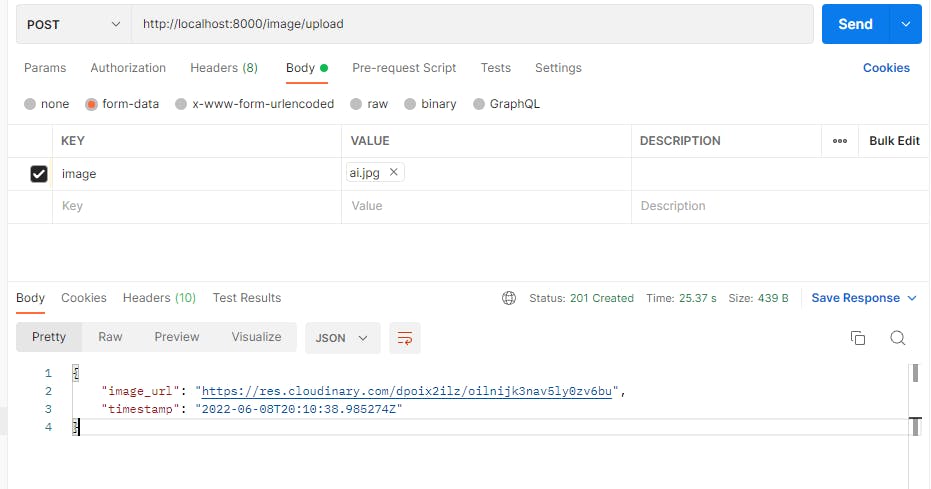
From the response, an Image URL was returned, copy the URL in your browser and view your image.
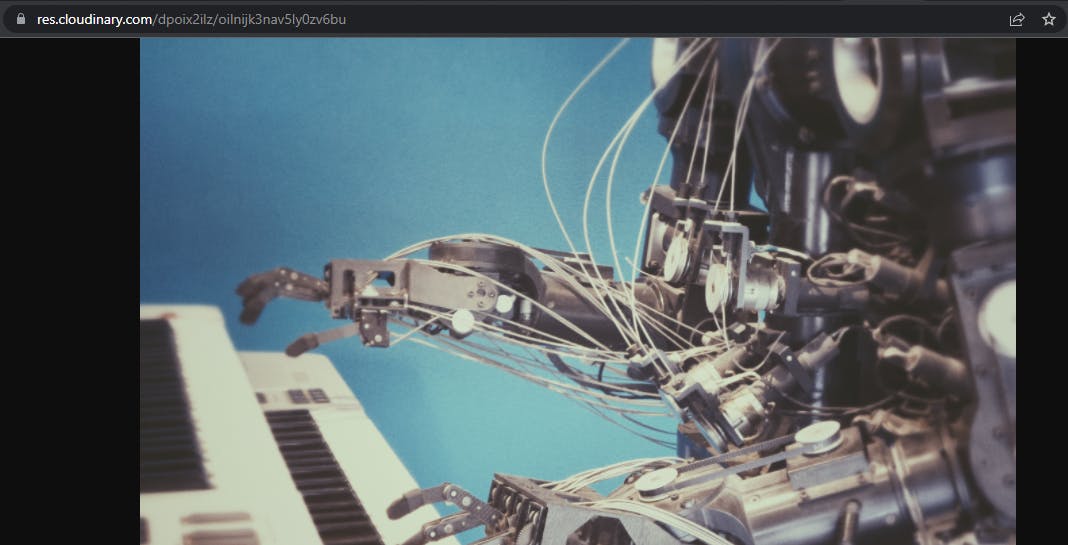
This shows our image has been successfully stored in our cloudinary account and can be viewed online using the URL .
Conclusion
In this article, we have learned about cloudinary and how to implement an API to store images in cloudinary using Django rest Framework.
All codes can be found in this repository.
Happy Coding!
Connect with me on Linkedin | Twitter| Github
Thanks for reading. Don't forget to send feedback if you find it helpful.